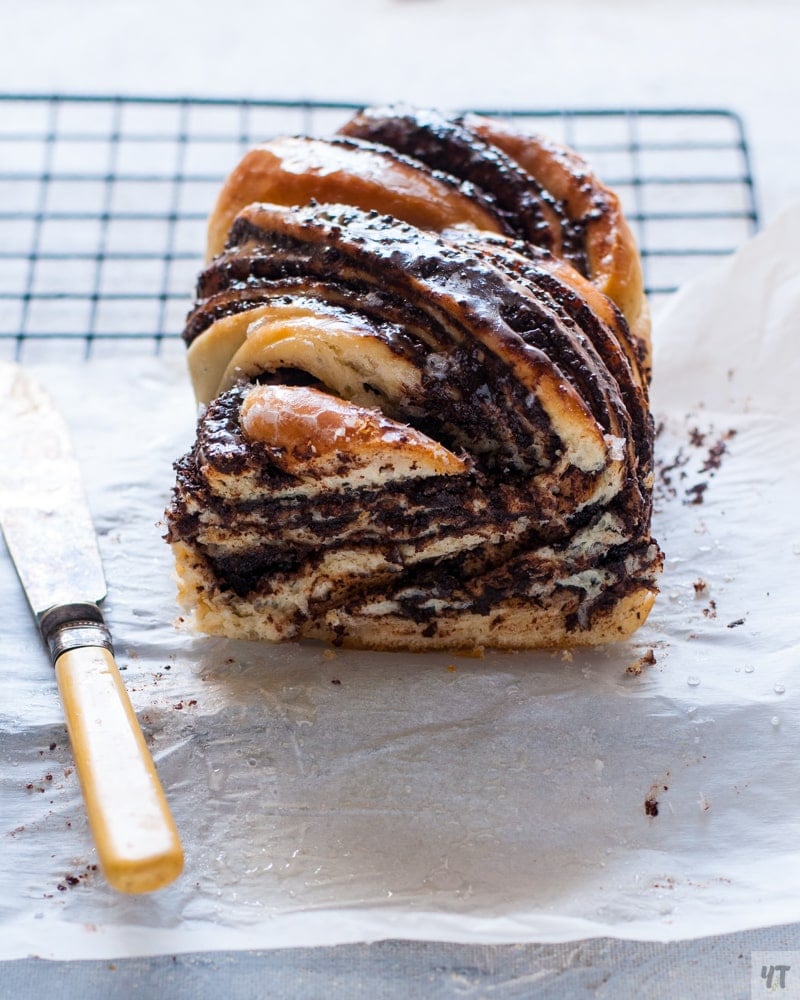
Chocolate Babka- Soft, buttery ,Sweet Yeasted Bread with Swirls of Dark Chocolate filling. It just cannot get better than this!
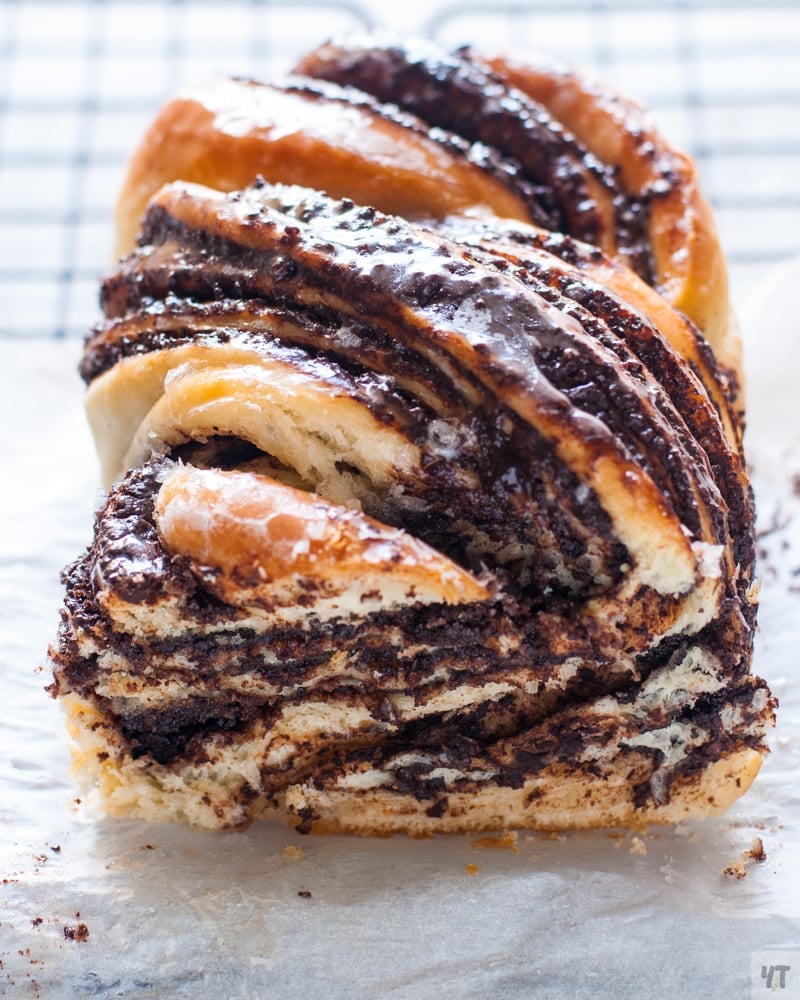
Why this recipe works
1. The taste is unbelievable! Better than any store-bought chocolate breads!
2. It's very easy to make, and the recipe is foolproof and has been tried and tested.
3. This chocolate babka bread freezes beautifully! So I always have some at hand!
Babka, also called Babka Cake and Babka Bread in some places. It's a love child of bread, croissants, and cake, if three could produce a child, that is.
It's probably best described as a sweet yeasted bread with a dark and decadent filling. It's quite a popular bread in Jewish and Eastern European households.
Dark Chocolate inside soft buttery folds of rich Brioche bread with a just brewed cup of my favorite coffee can banish the staunchest of demons.
I can vouch for it!
If you ever wondered about that one food that could make you happier than you have ever been..it is this homemade Chocolate Babka!This sweet braided bread recipe could rival your favorite cinnamon roll recipe or even your most perfect croissant that you spend so much on!
This kind of bread comes under the category of Enriched Bread. It's richer and softer than your average bread because it has eggs, butter and milk. Like a brioche!But the real winner is in the filling. The best filling is chocolate(obviously).
That said, there are other equally intriguing non chocolate fillings like- apple cinnamon, peanut butter, custard which are also quite enticing(if you take chocolate out of picture).
Also! If you love milk chocolate, give my Nutella babka a try! It's so good! Better yet! Make one loaf with chopped-up dark chocolate and one with Nutella! Or try my newest fall recipe- apple cinnamon pecan babka.
If you love chocolate as much as I do, give these amazing chocolate cake a try.I have been making it for past 12 years!
Ingredients in Chocolate Babka
bum ba bum..here are the ingredients. Sometimes I can't believe that such humble ingredients can produce something so so amazing!
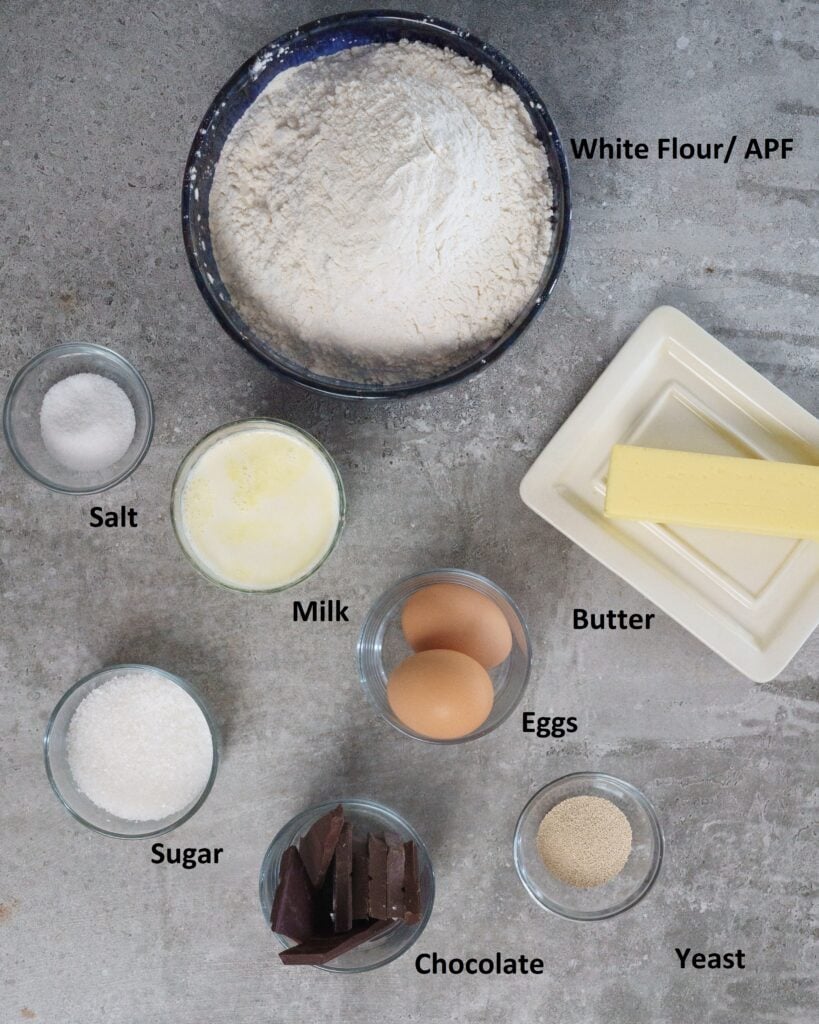
Flour
I have used all kinds of all-purpose flour or white flour, and this recipe has given amazing results.If you can find it, use high gluten flour or bread flour.The Babka will be even more soft.
Eggs
I use cage-free organic eggs. Their gorgeous yellow yolks make the dough slightly golden yellow.I love them! That said, you can use any eggs on hand.
Butter
You can use both salted and unsalted butter.I like little salt in my babka. It makes the chocolate filling shine even more.The one thing to note is that your butter should be cold. Cut it into small ¼ or ½ inch cubes.
There is a specific purpose in using cold cubed butter. It will make the babka bread crispy on the top.For the filling, you can use softened salted or unsalted butter. I personally love the taste of salted butter with chocolate.
Milk
Use room temperature or cold milk. Please use whole or high fat milk.Add the milk slowly. Do not just dump the whole thing in.Every flour has different liquid absorption capability. So you need to add half at first and then add little by little as you bring the dough together.
Yeast
Use fresh(ly opened box of ) dry active yeast.I have used fast acting active yeast and the regular active dry yeast with equal success.Don't use that old sachet of yeast lying behind your pantry .Old yeast is notorious for ruining breads!
Chocolate
Get Good Quality Chocolate for the filling. You could go all the way dark dark dark bittersweet chocolate. but I find that a mid way works better.Like 50-60 % dark chocolate is that perfect middle space.
Definitely do not use compound chocolate. I also prefer a chocolate bar over chocolate chips because it is easier to cut. Plus finely chopped chocolate is easier to roll and shape, which you will see below.
My Rule for chocolate in baking is, if you can have it as is, you can use it.
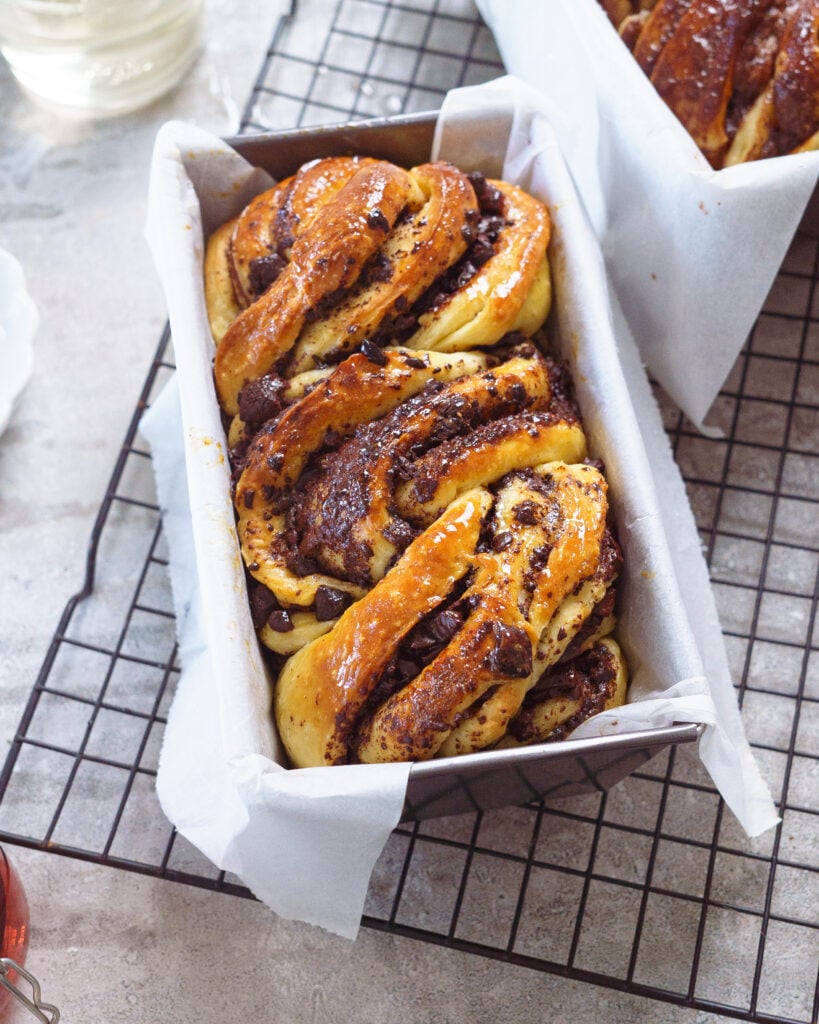
How to make Chocolate Babka
Here is step by step process of making the babka.
Step 1: Prep
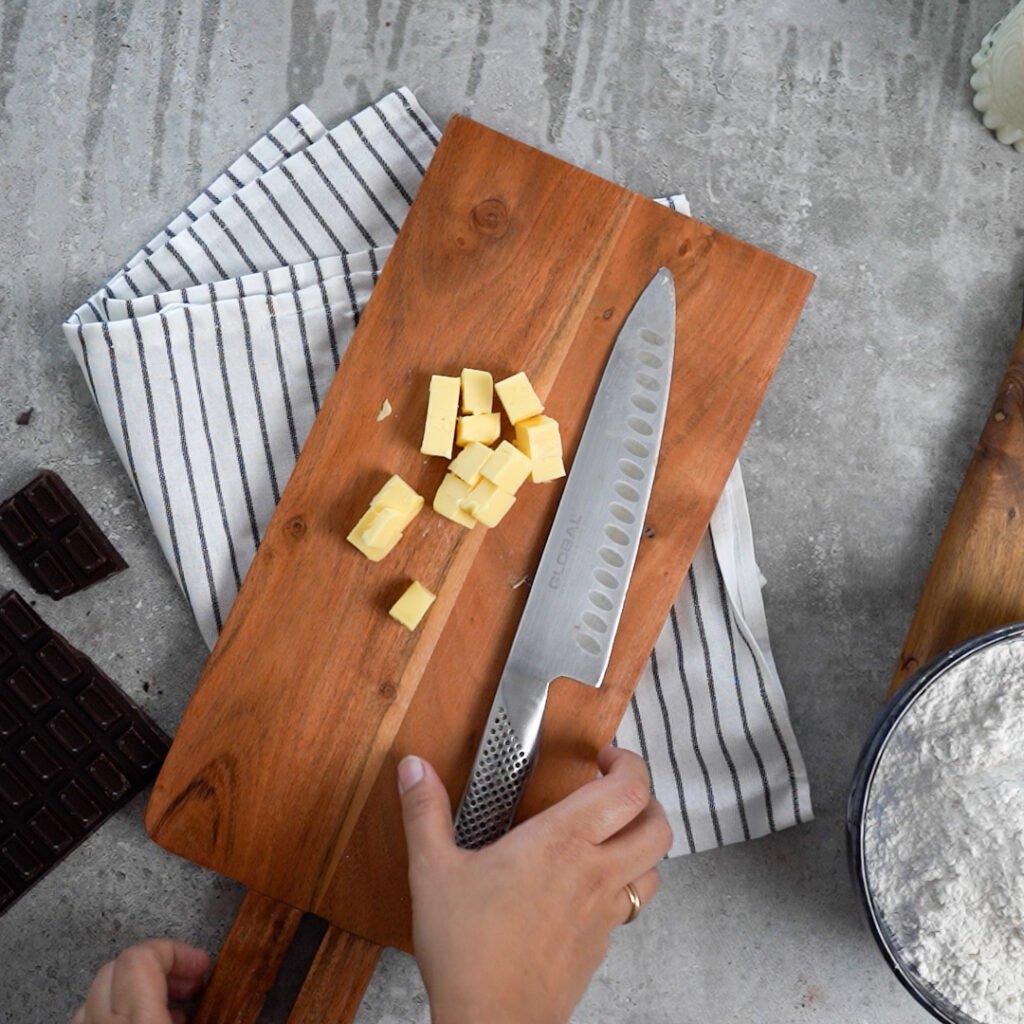
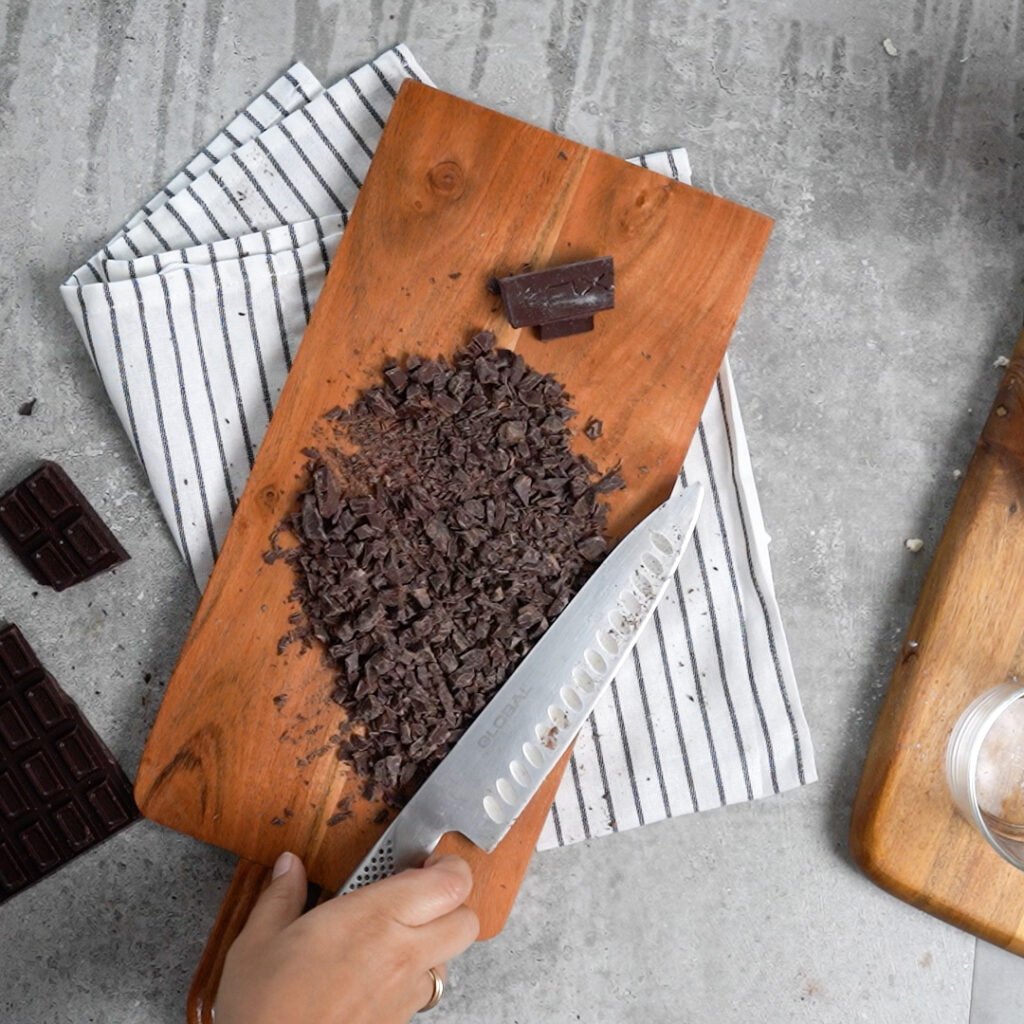
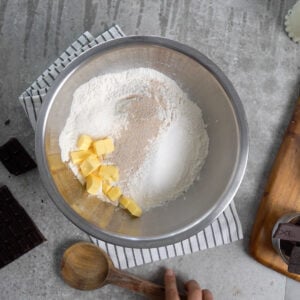
Gather all the ingredients and measure them. Cut the cold butter into cubes.
Cold butter is essential to this recipe. Don't skip on this!
Either clean up some space on the counter to knead the dough or get your stand mixer ready to go or use a huge bowl like I do.
Line the baking pan with parchment paper or brush it with butter.
Step 2:Make the Dough
You can do this the easy way- in a stand mixer or by hand. Both ways, you will get same result.
Stand Mixer Method
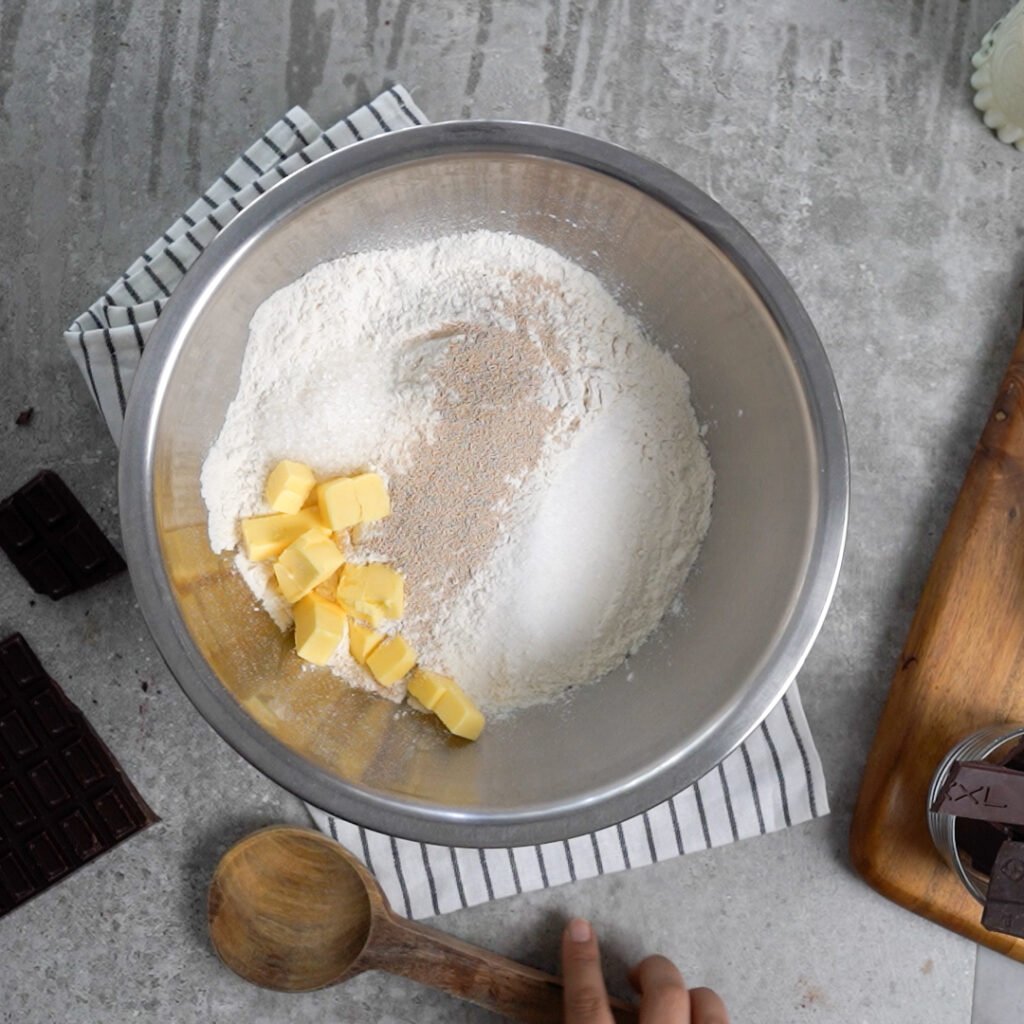
Add the Flour, Yeast, Salt & Sugar to the bowl of the stand mixer. Using the hook attachment, Give it a whizz to mix it up.To this add cold butter and mix it for another 30 seconds. Add Eggs, one at a time.Add the milk.
Let the hook attachment do its work for 5-6 minutes.You need to do this to develop gluten.This will make yur bread soft.
By hand
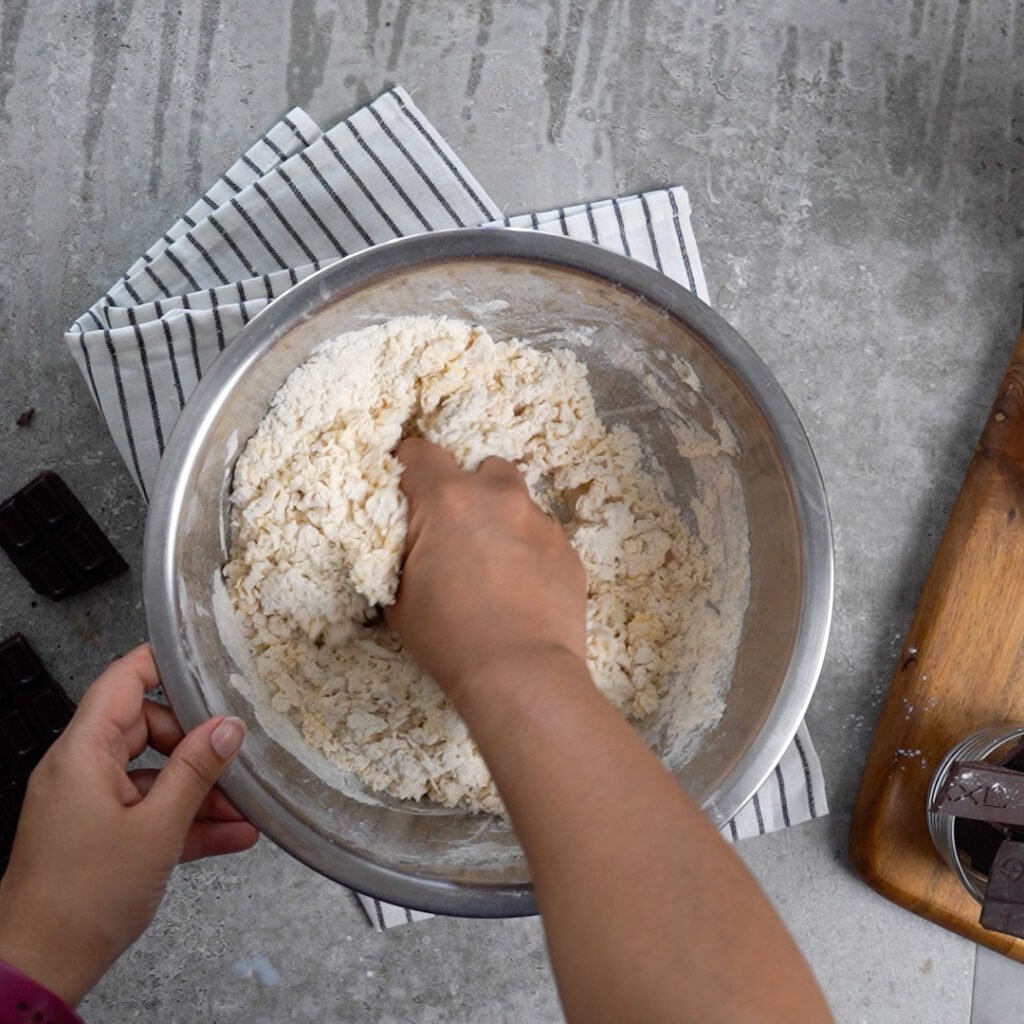
In a large bowl, add flour, yeast, salt and sugar. Mix it up with your hand.
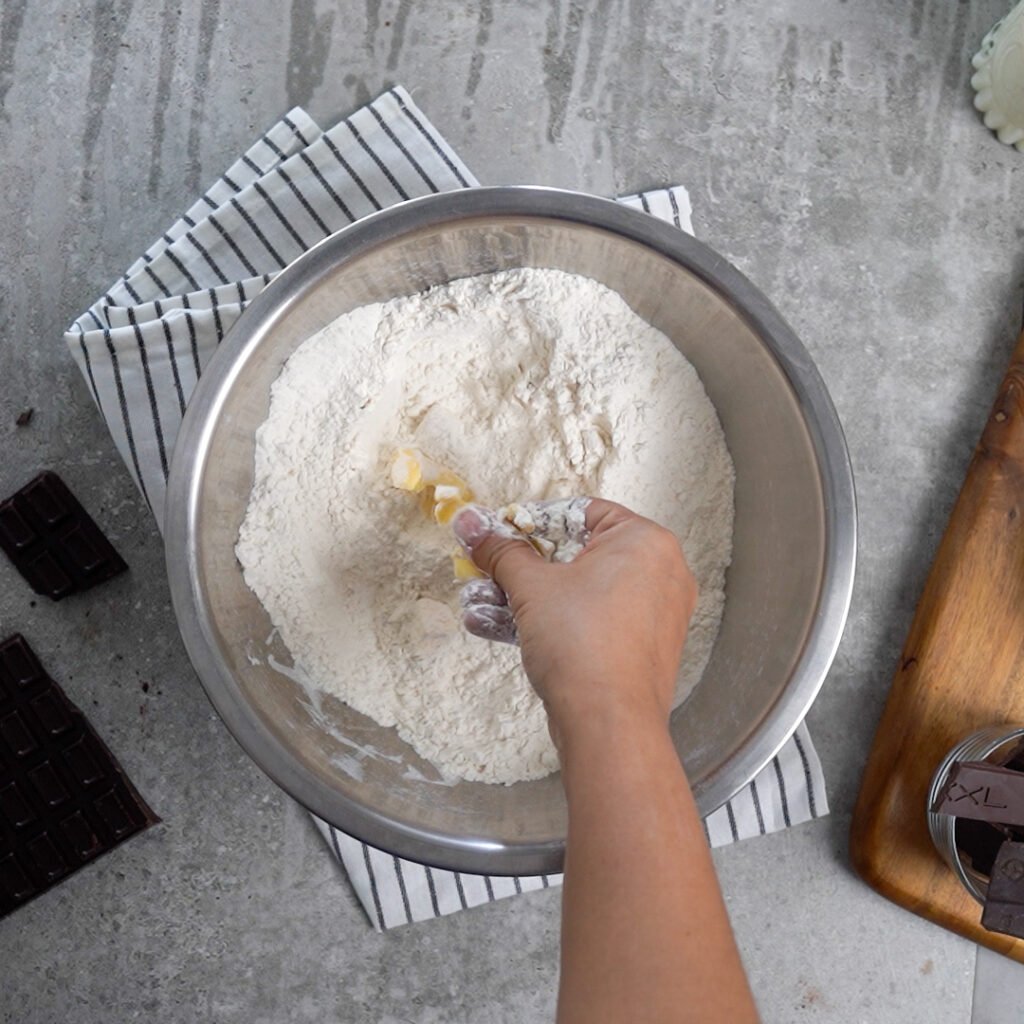
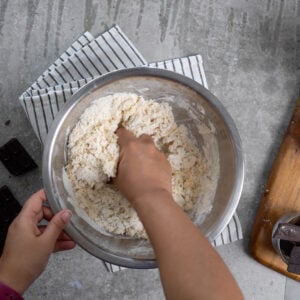
Add cold butter cubes and pinch and rub the flour and butter to get a course clumpy consistency. This should take 1-2 minutes.
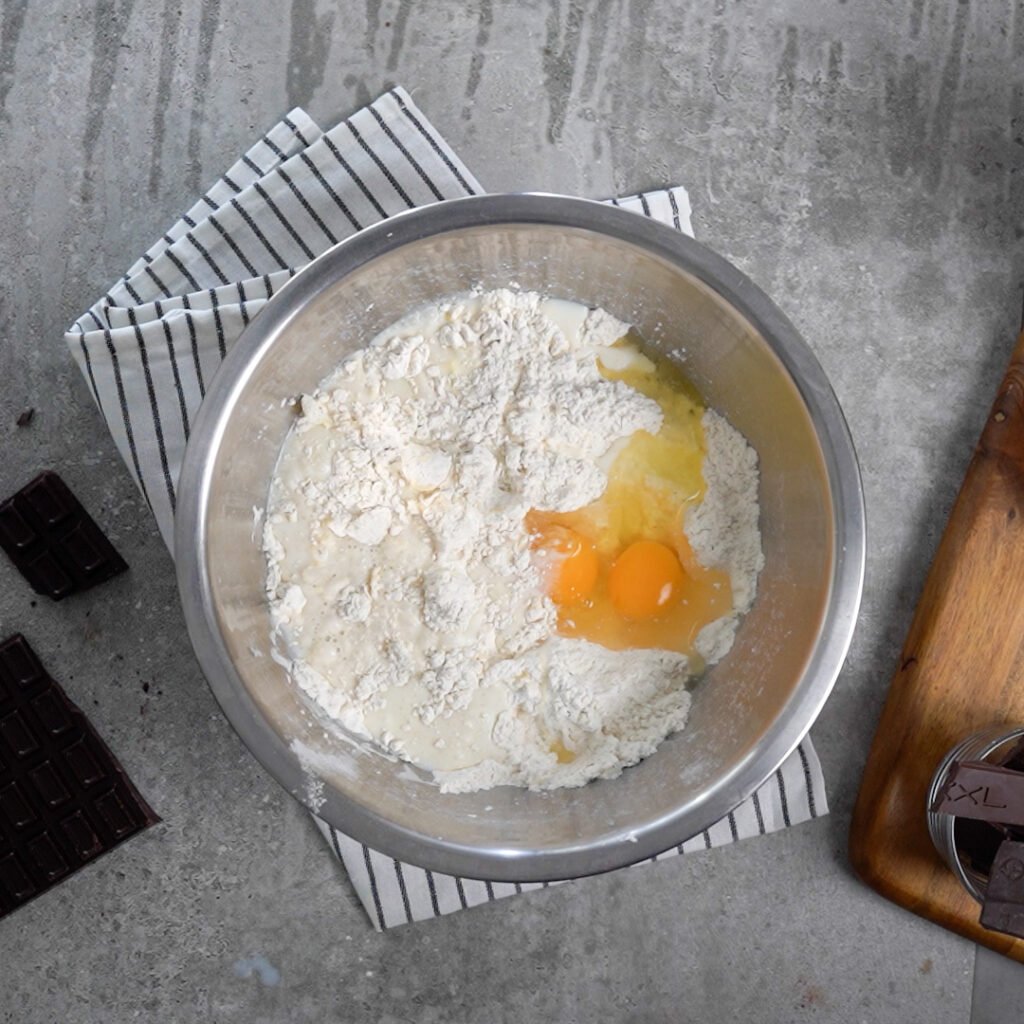
Add the eggs and half of the milk and mix it up together to get the dough. Add more milk little by little if the dough is dry.
If the dough is too sticky, add flour and if its too tough, add more milk.
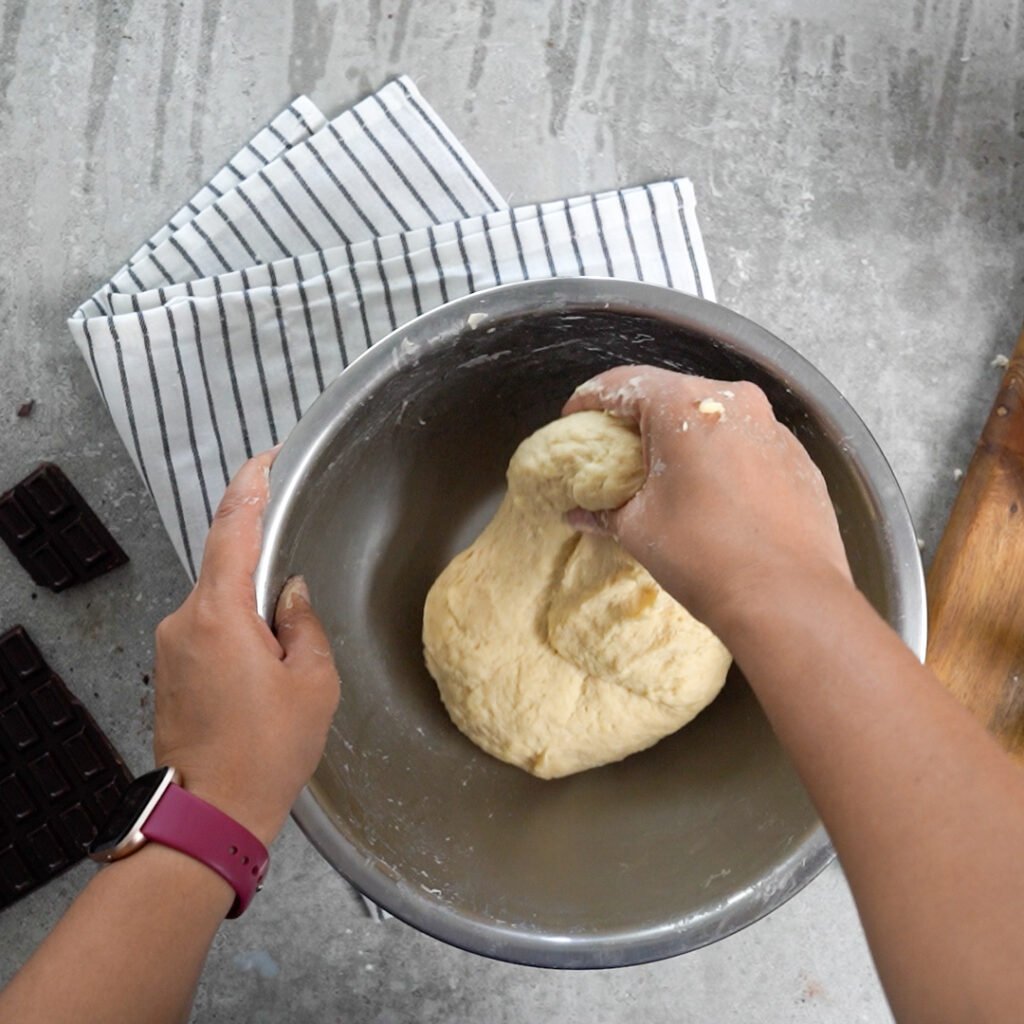
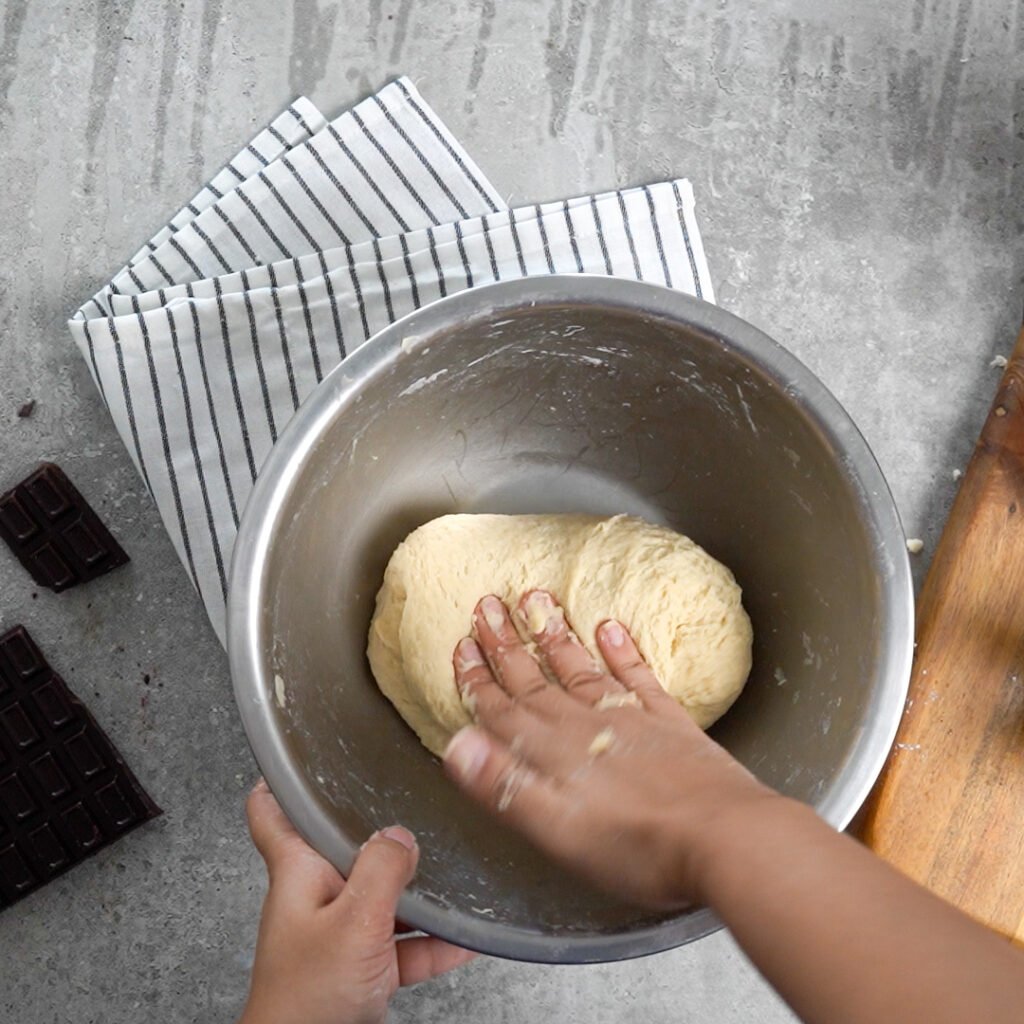
The dough might feel sticky at first. It will become smoother the more you knead it.
Knead the dough for about 10-15 minutes, stretching and folding it again and again to develop Gluten.
When kneading by hand, you need to do it for longer because kneading by hands is a slower process.
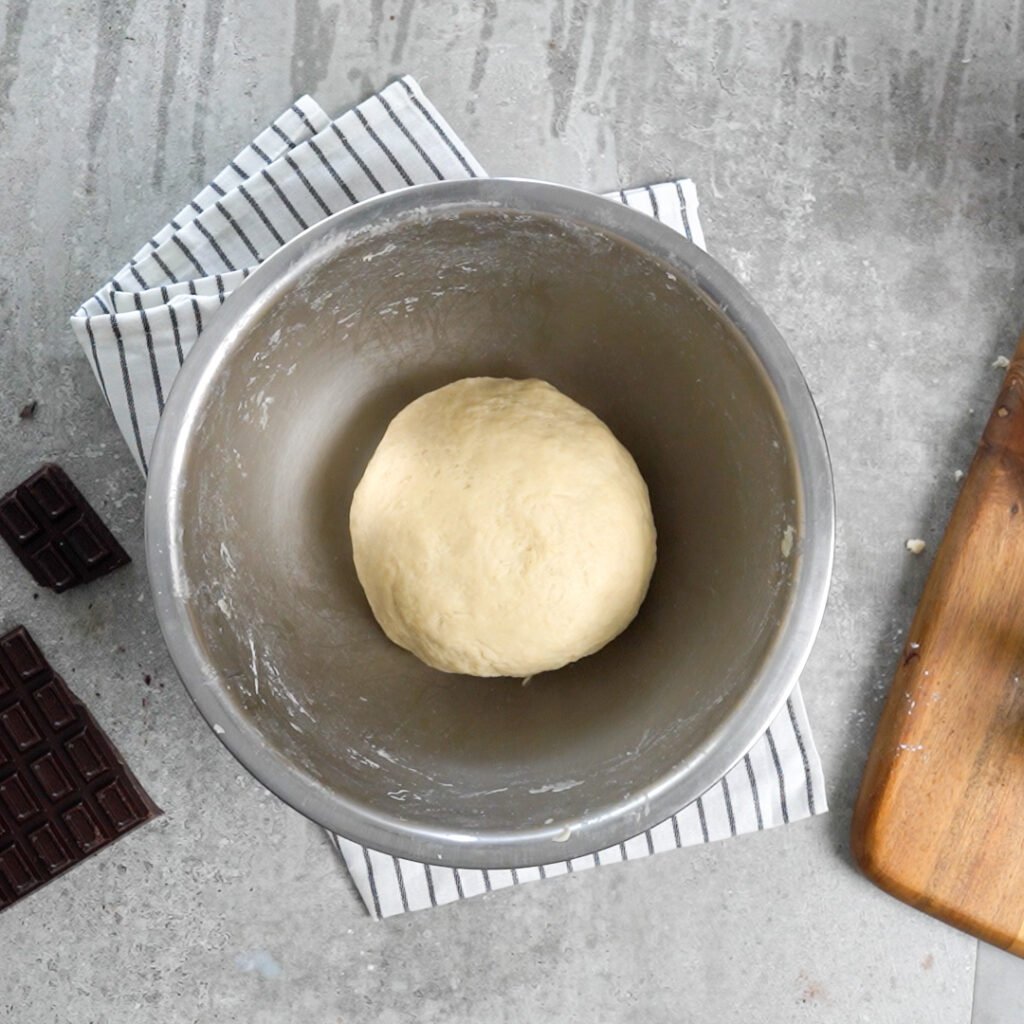
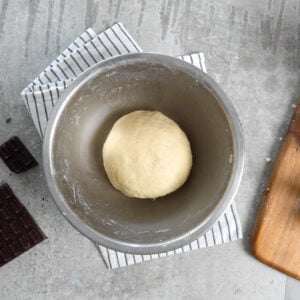
Once done, place the dough in a greased bowl.
Step 2:Proofing the Dough or the first rise
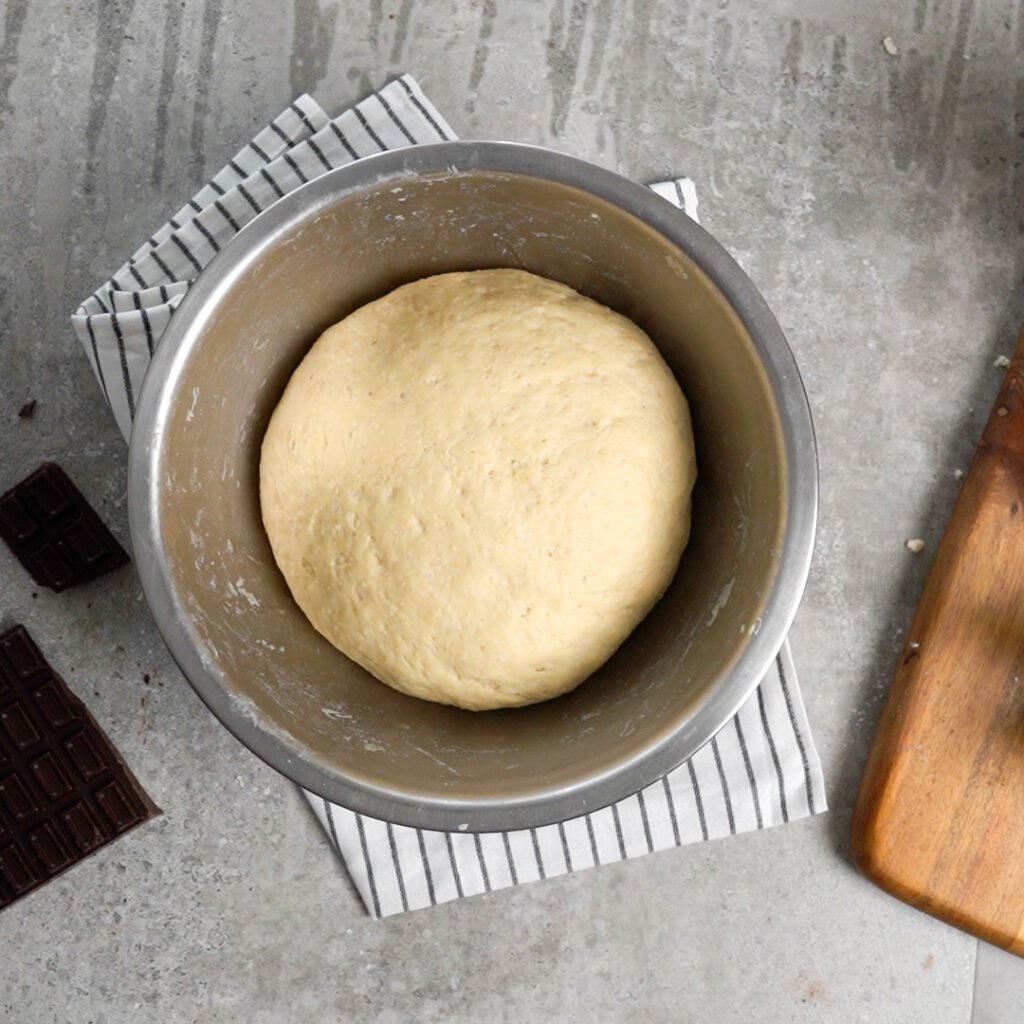
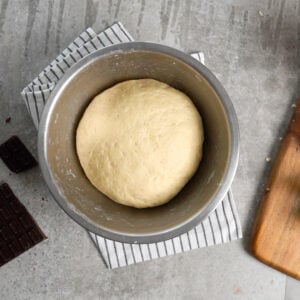
Cover the dough with a damp cloth or plastic wrap and place the dough on a warm place on the counter for 1-2 hours. Let the yeast do it's business, till it rises and doubles in size.
On a warm day this could take 1 hour or less. On a cold day, it could take up to 4 hours. To speed up the dough rising process, you can stick the covered dough in the instant pot in the "yogurt" setting.
Or you could just keep the dough in a warm water bath.
Make sure the dough is well covered, otherwise you will end up with some not to nice bits of dry dough.
If you aren't confident of kneading or just don't like it, then get the dough together and stick it in the refrigerator overnight. This will automatically develop gluten without a lot of kneading.
Your Brioche dough is now ready. The next step is filling and shaping it.
Step 3:Shaping the Bread
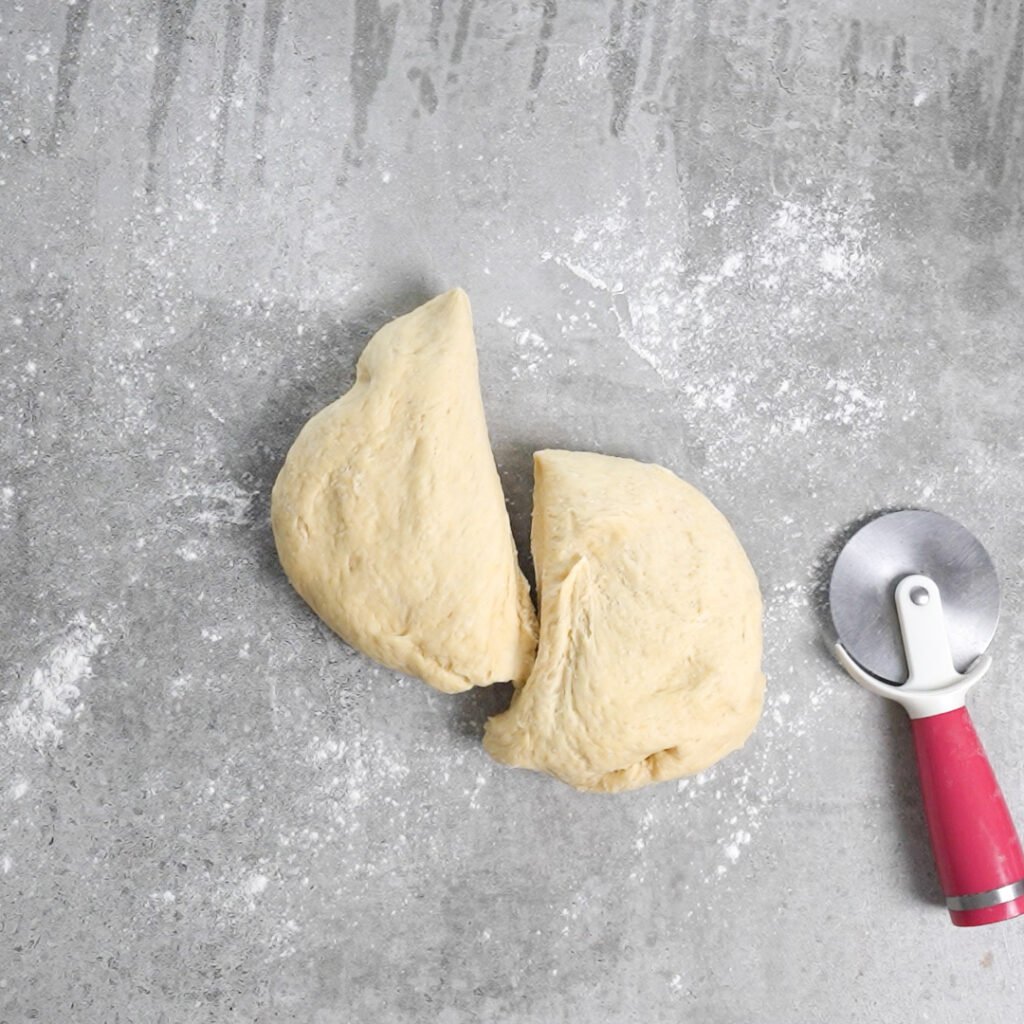
On a lightly floured surface ,divide the dough into 2 equal portions. You can make 2 babka breads with this amount.
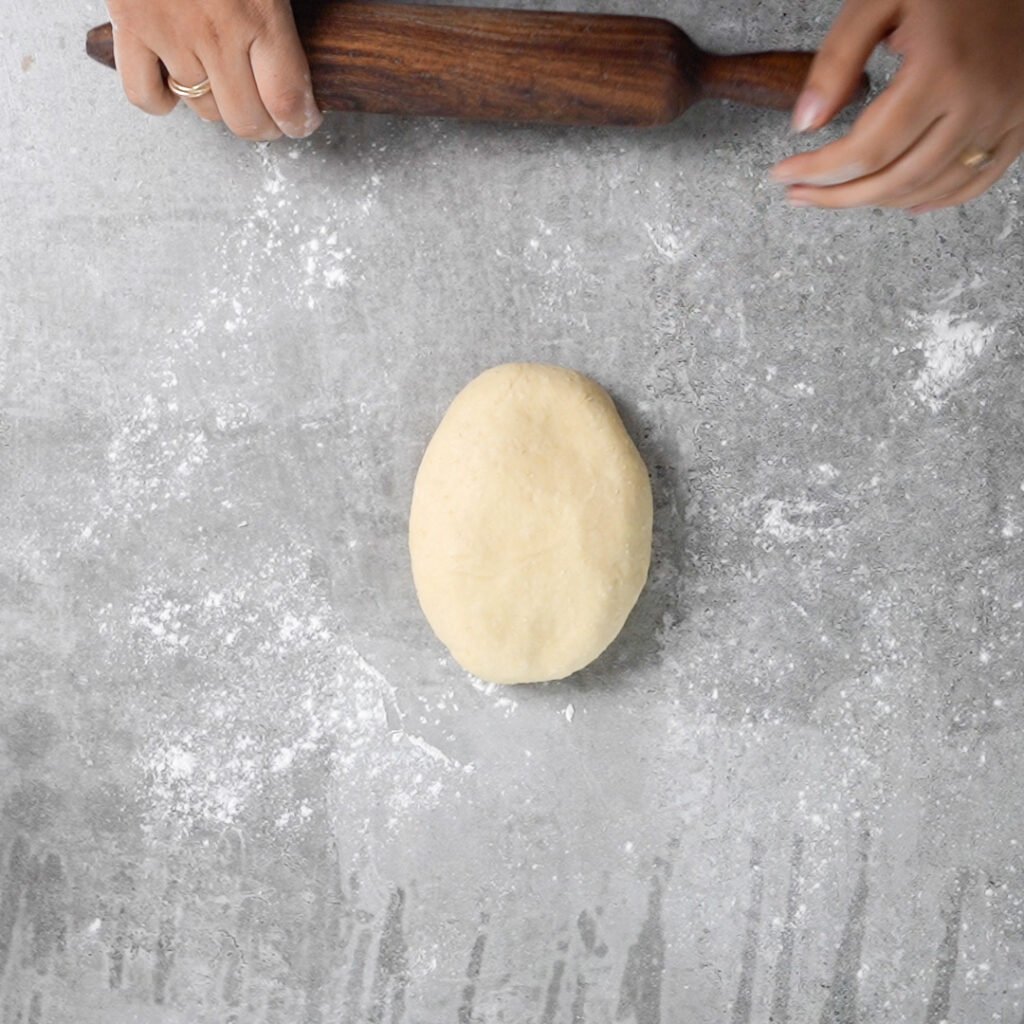
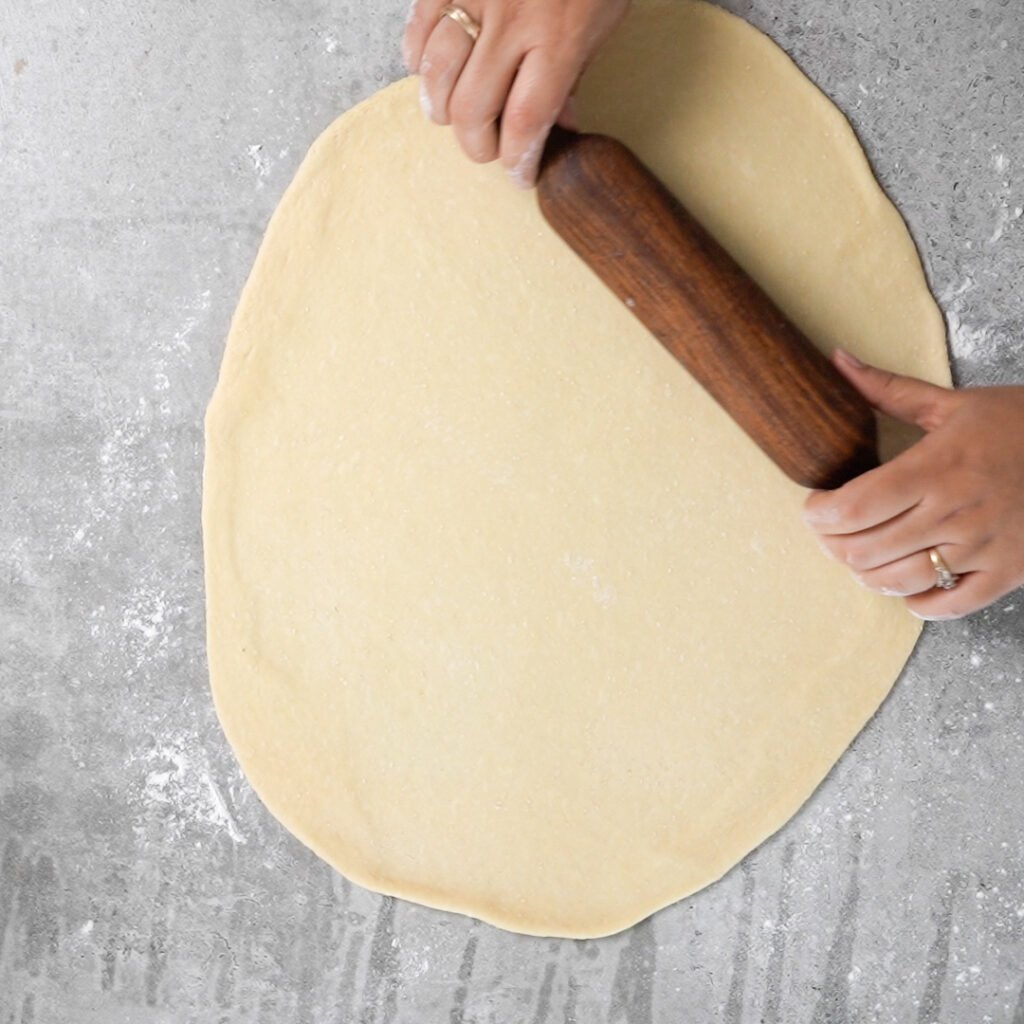
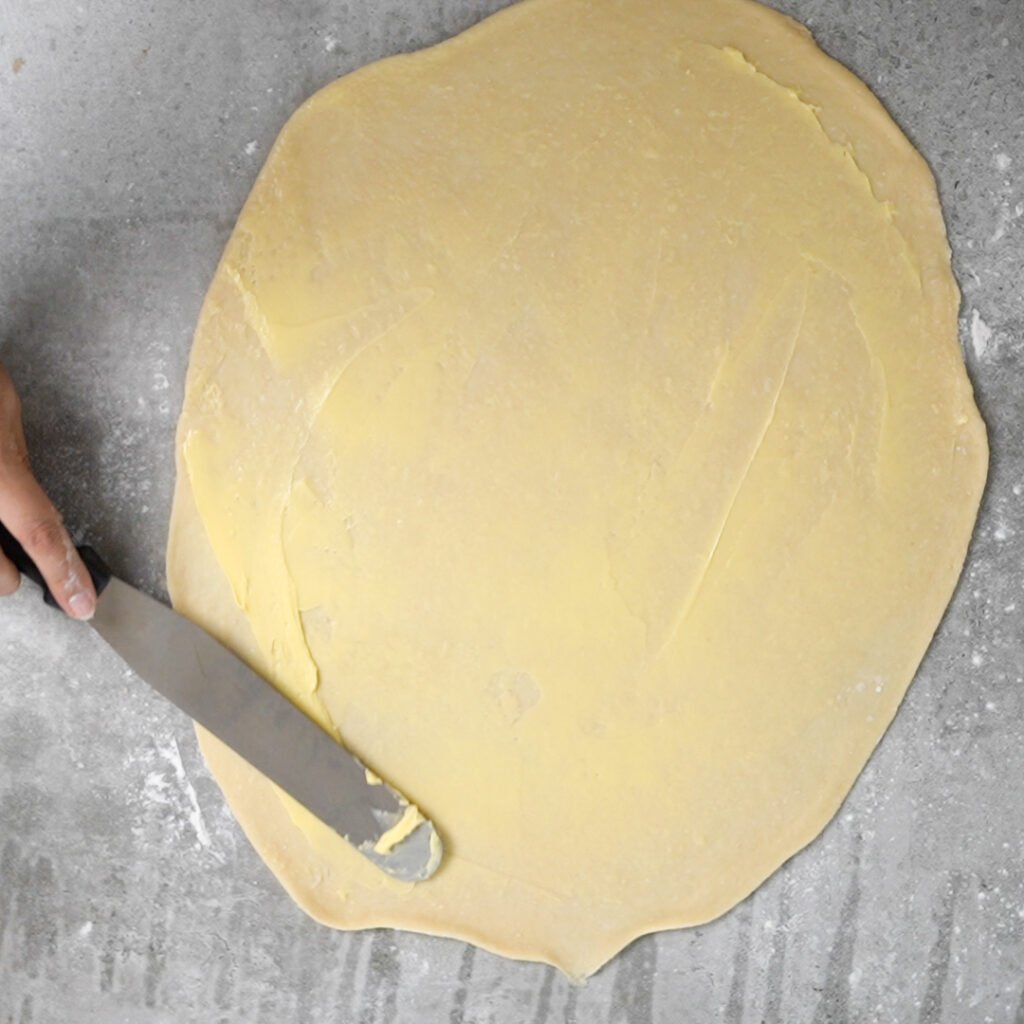
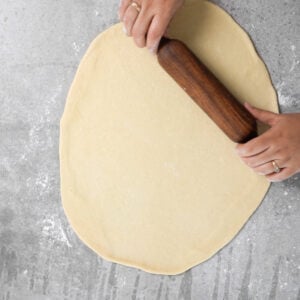
Roll the dough on the floured surface into a large rectangle(or something resembling a rectangle).
For the filling
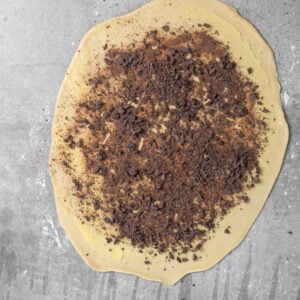
Brush the butter on it, rather slather it with soft butter. Be Generous.
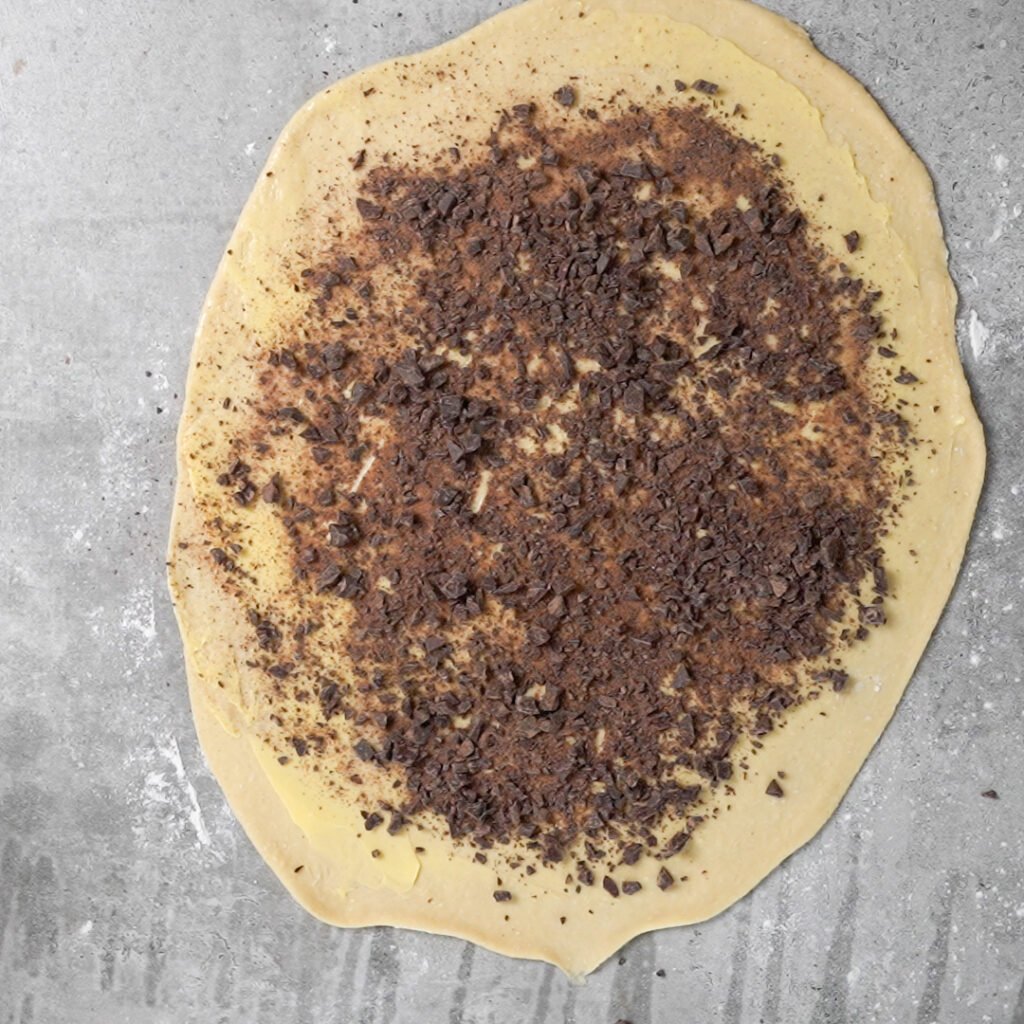
Chop up the chocolate. You should have some chocolate dust, some small chunks and pieces.
Sprinkle the finely chopped chocolate all over the butter. Leave a small border around to help rolling the dough.
You can also melt the butter and chocolate together in a double boiled and spread on the dough. Though I like the look of chopped chocolate more.
Shaping the Babka
There are lots of different ways of rolling the babka. Here are two of my go-to ways.
Shape 1: 2 Braided Loaves
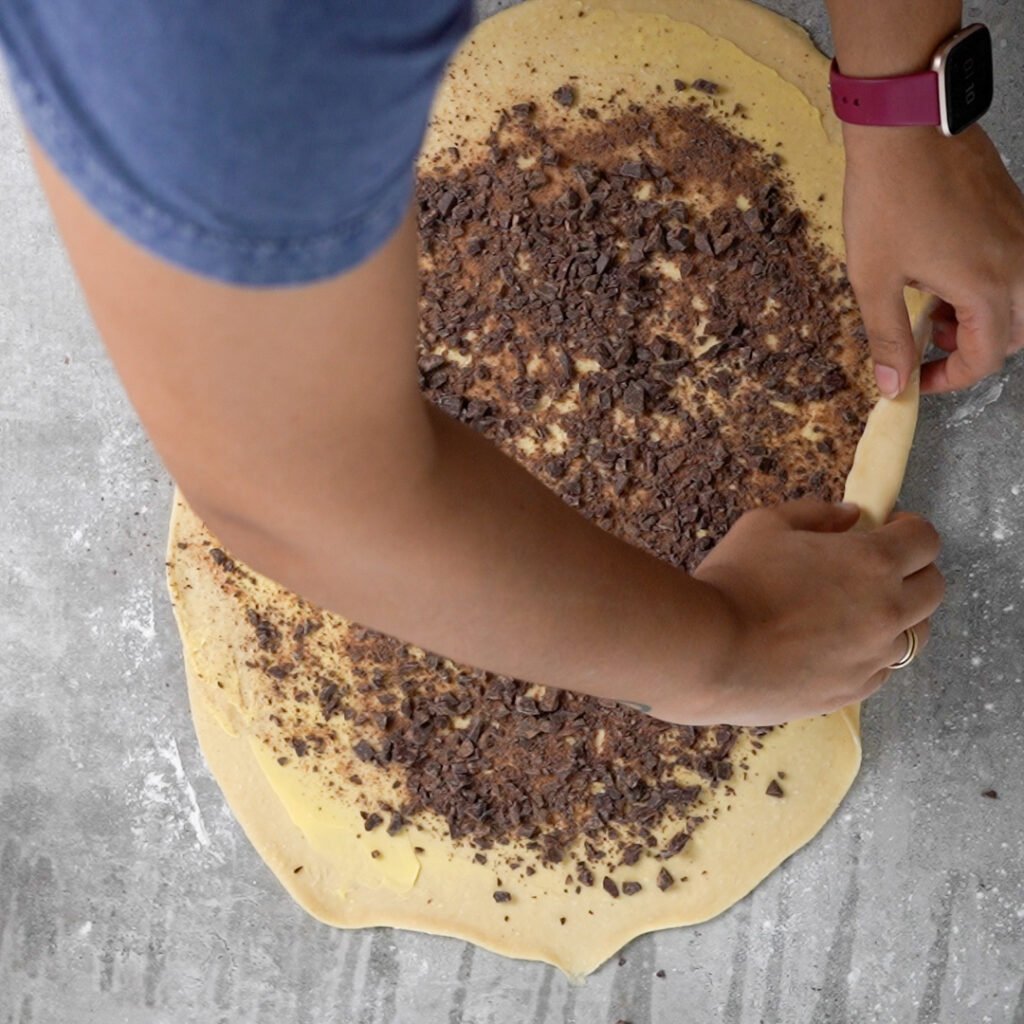
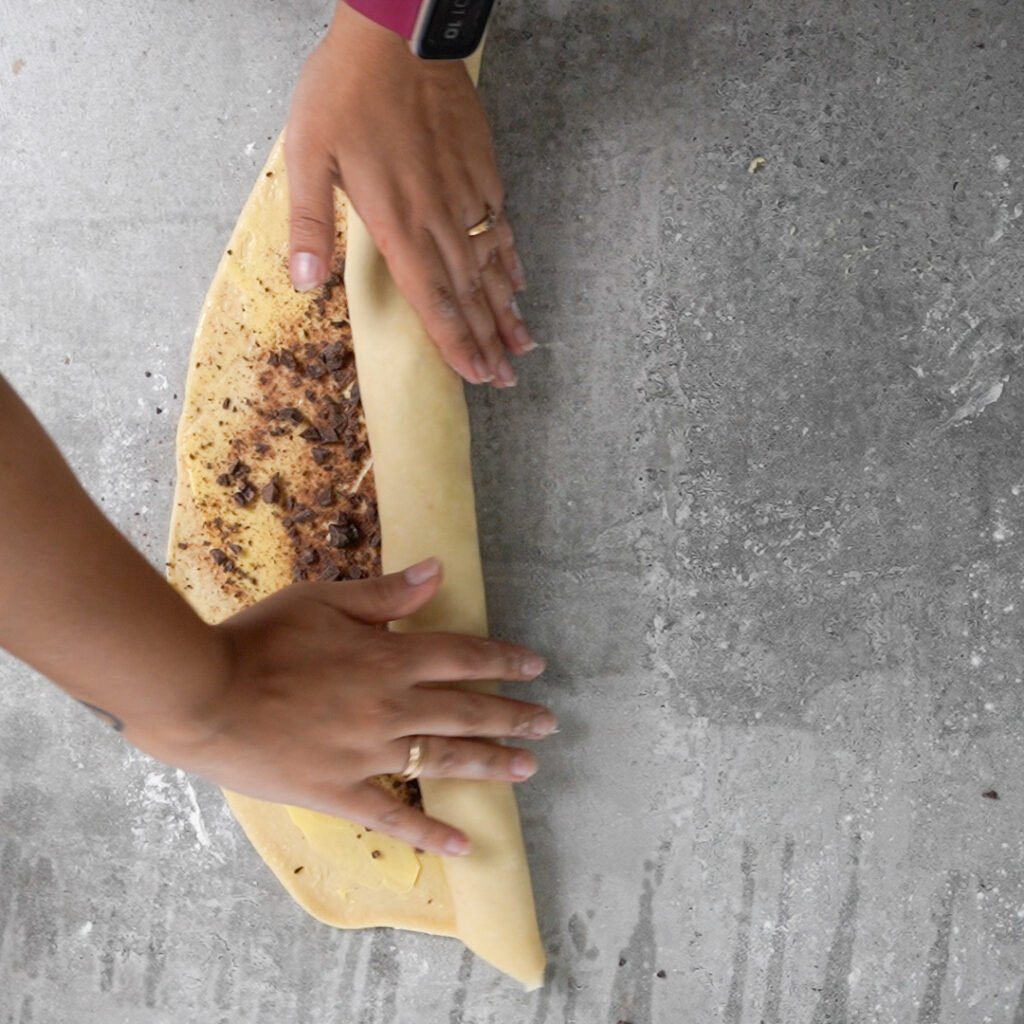
Pick a long edged side and gently Roll the dough into a log.
Press the seem and put the seam side down.
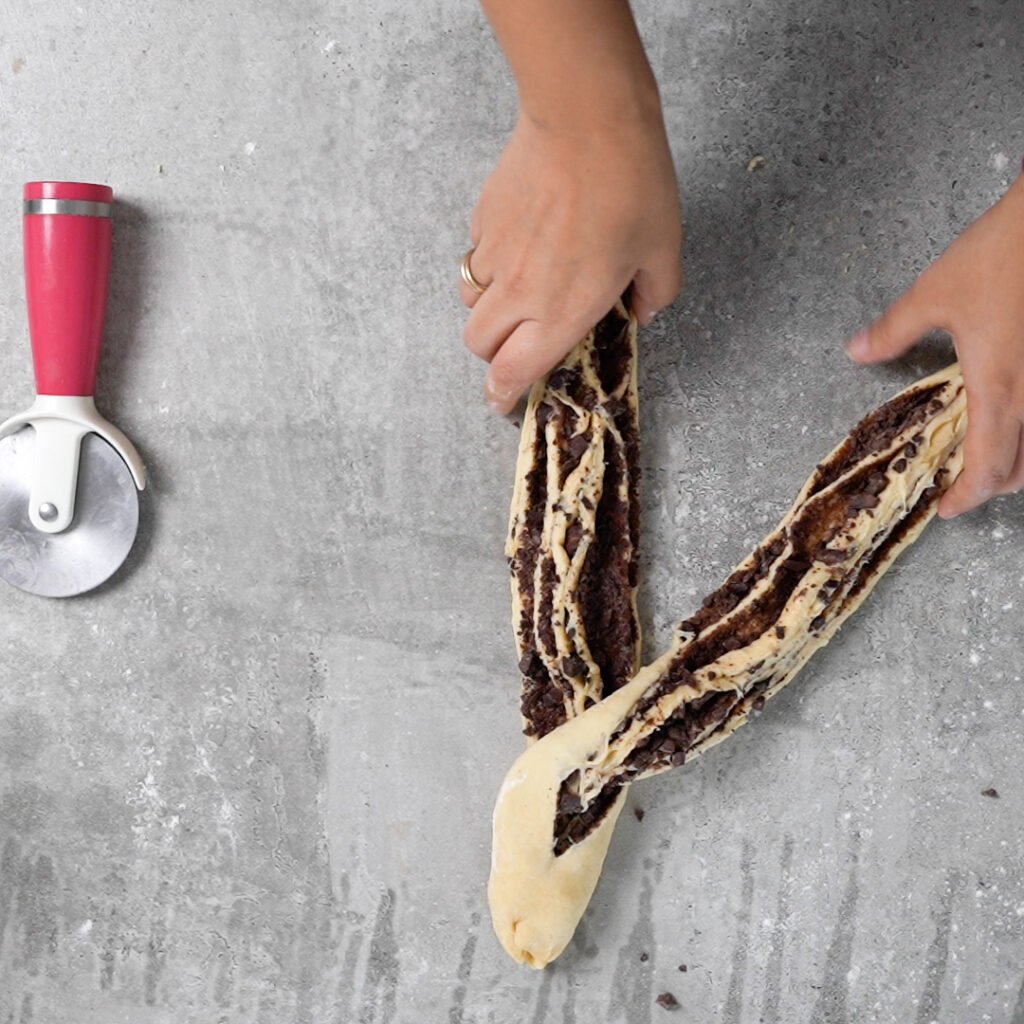
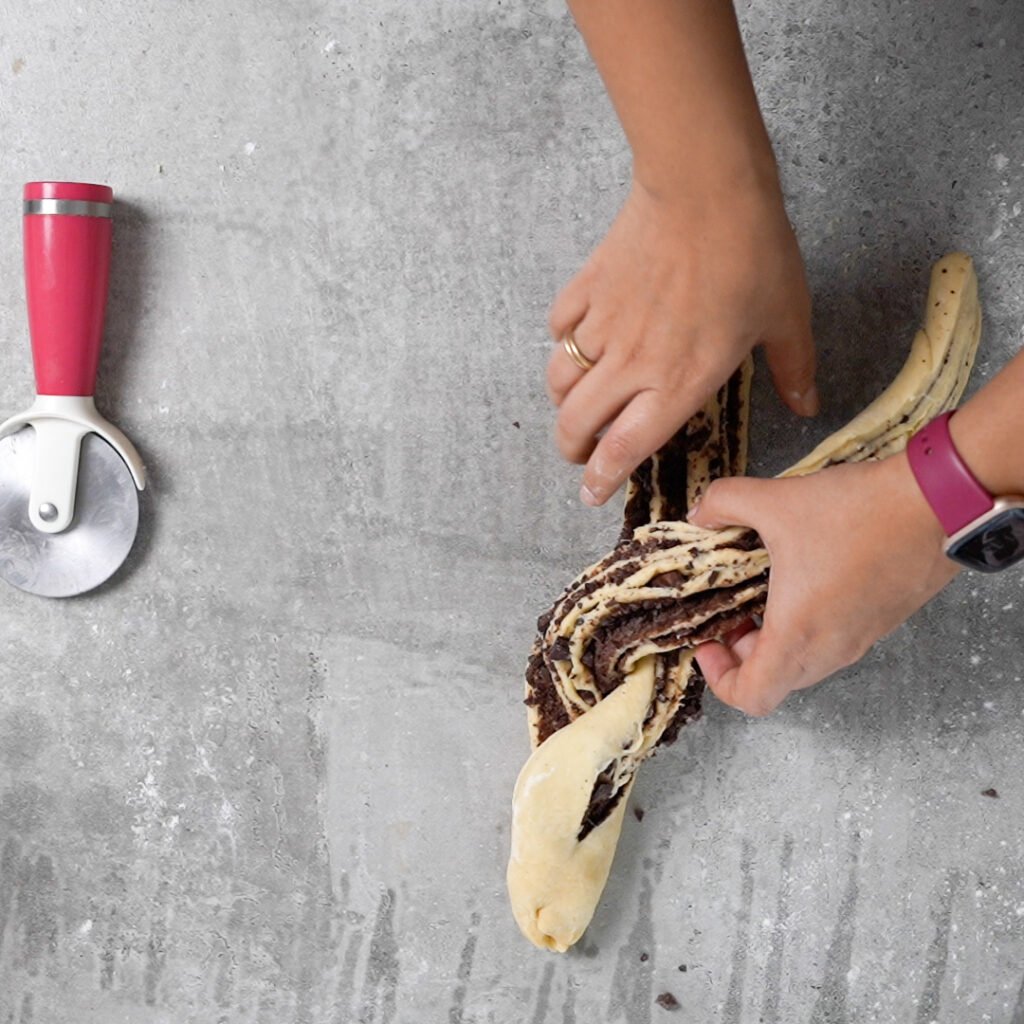
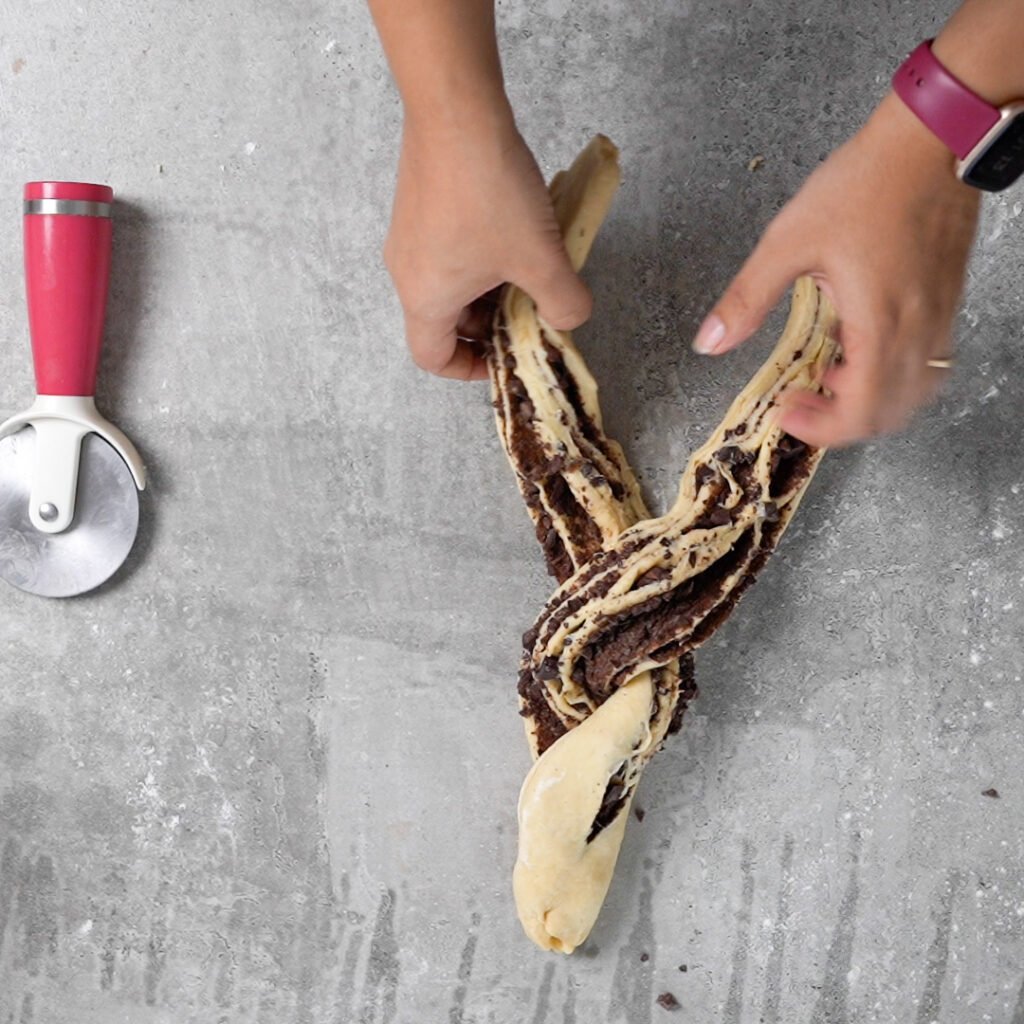
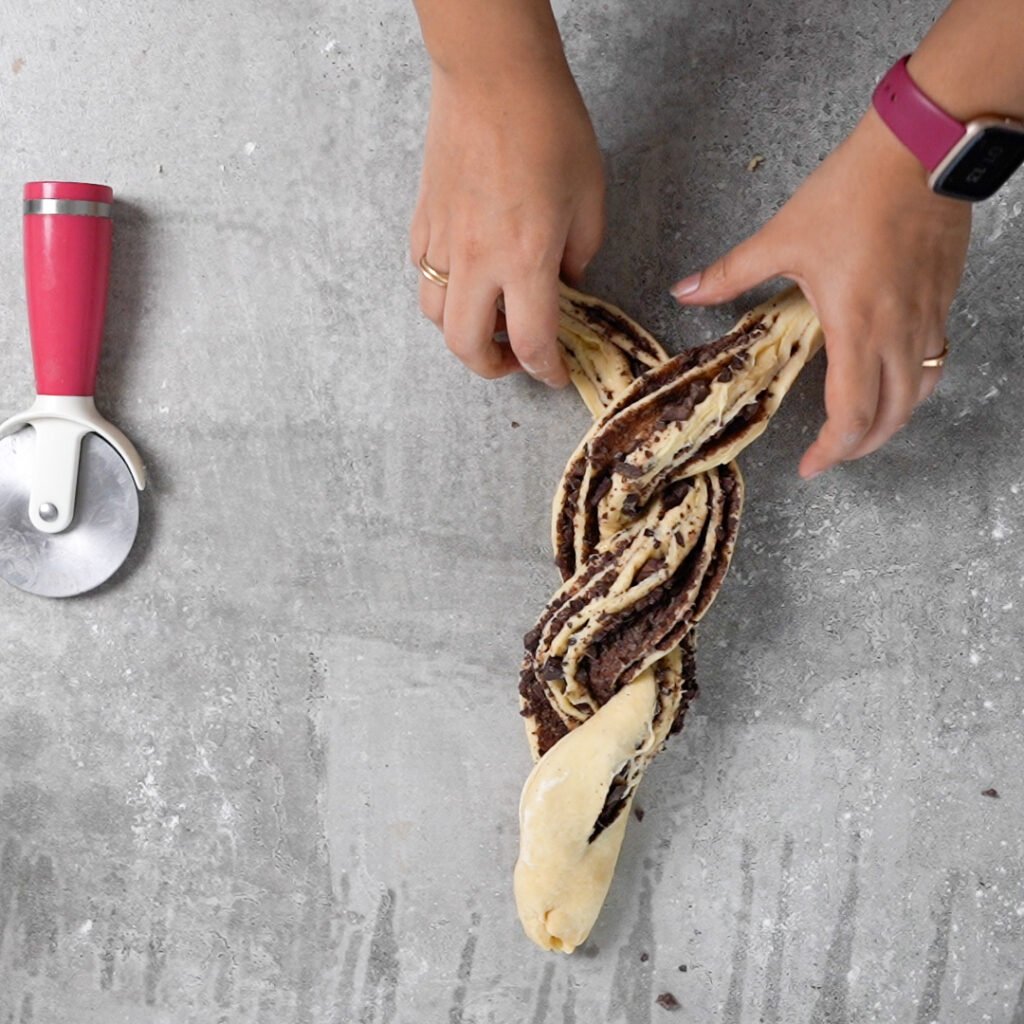
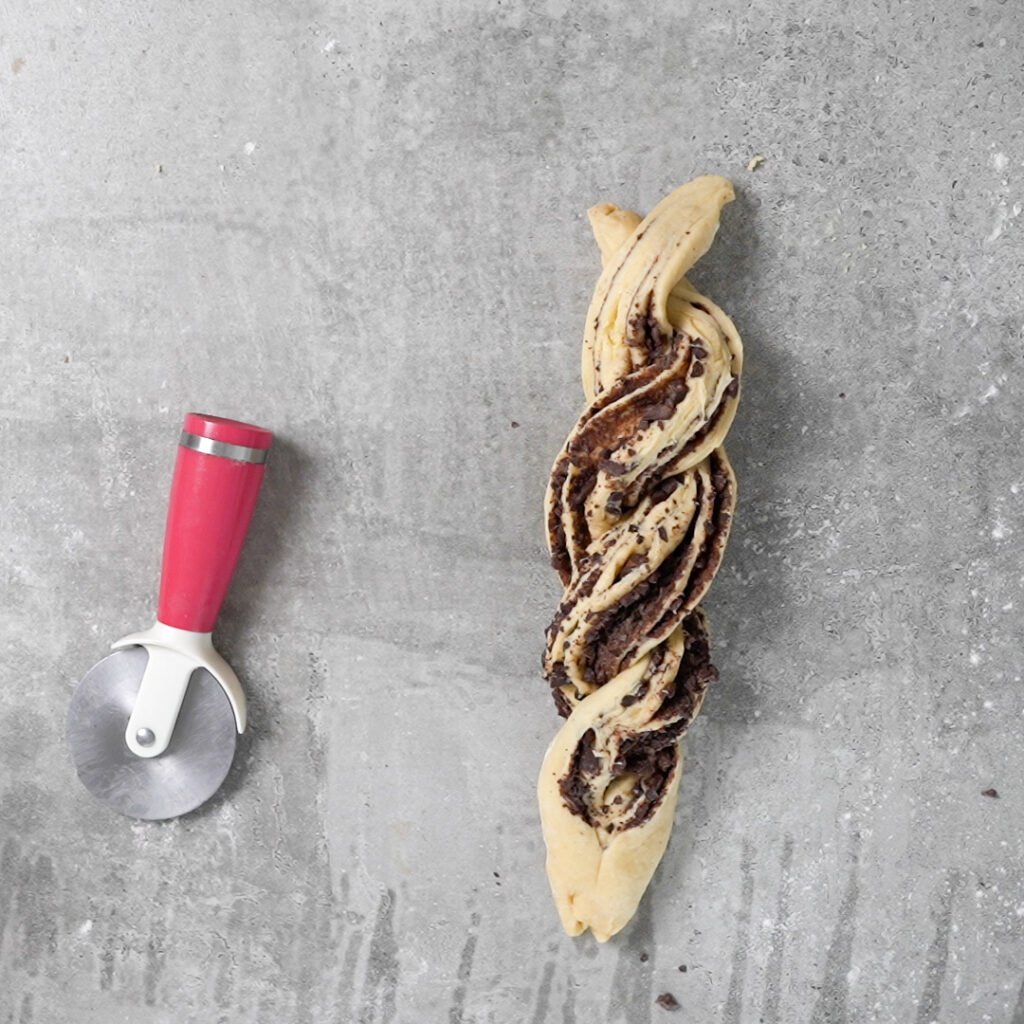
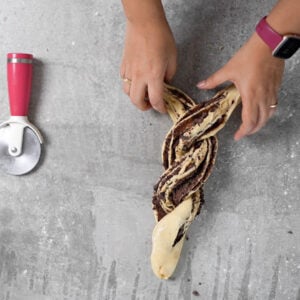
Using a sharp knife or a pizza cutter, slice the dough along the length.
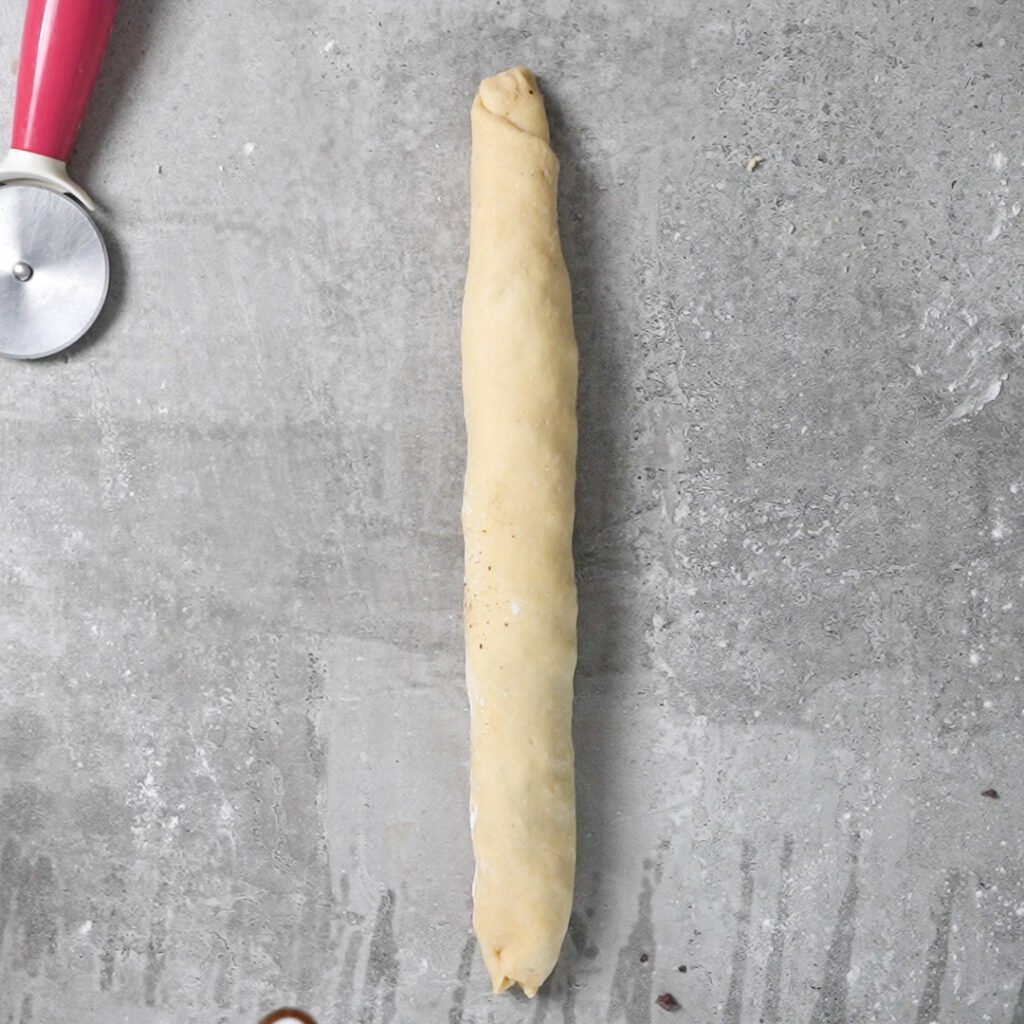
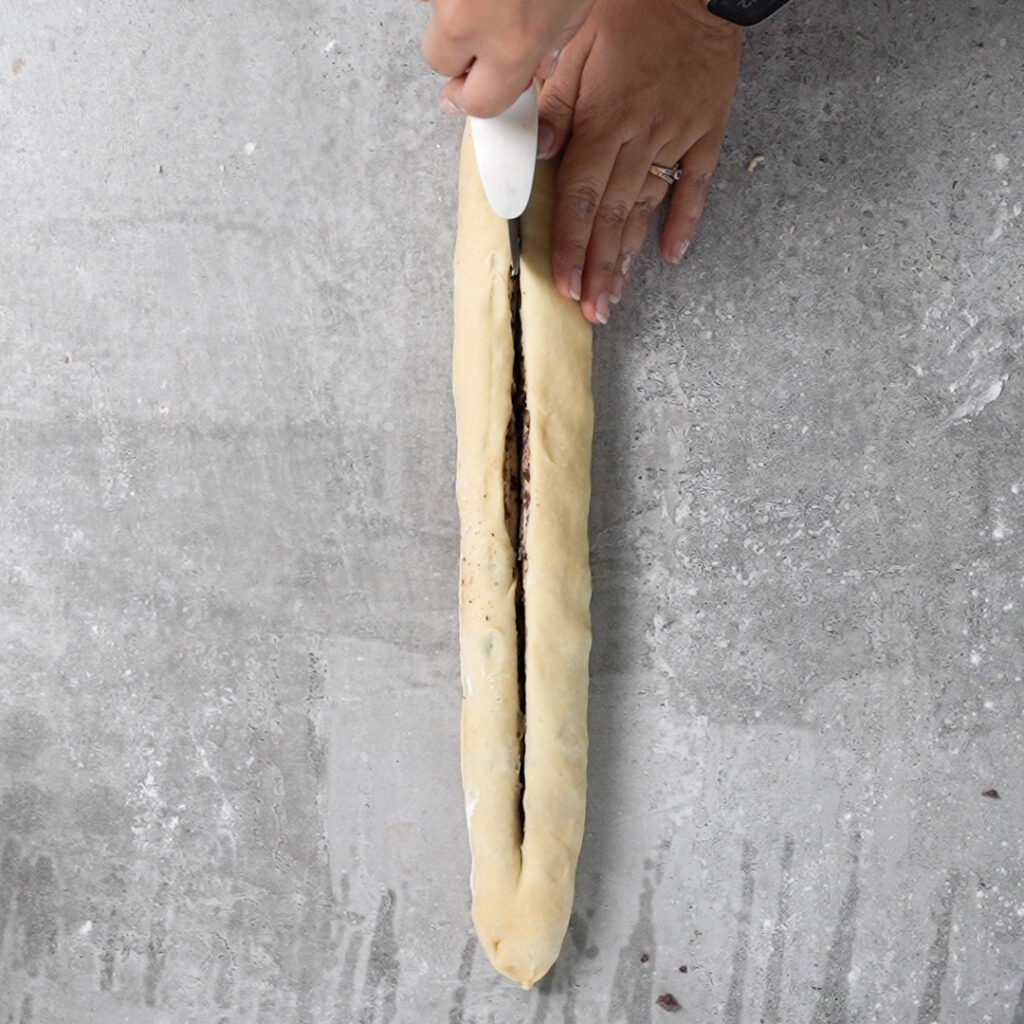
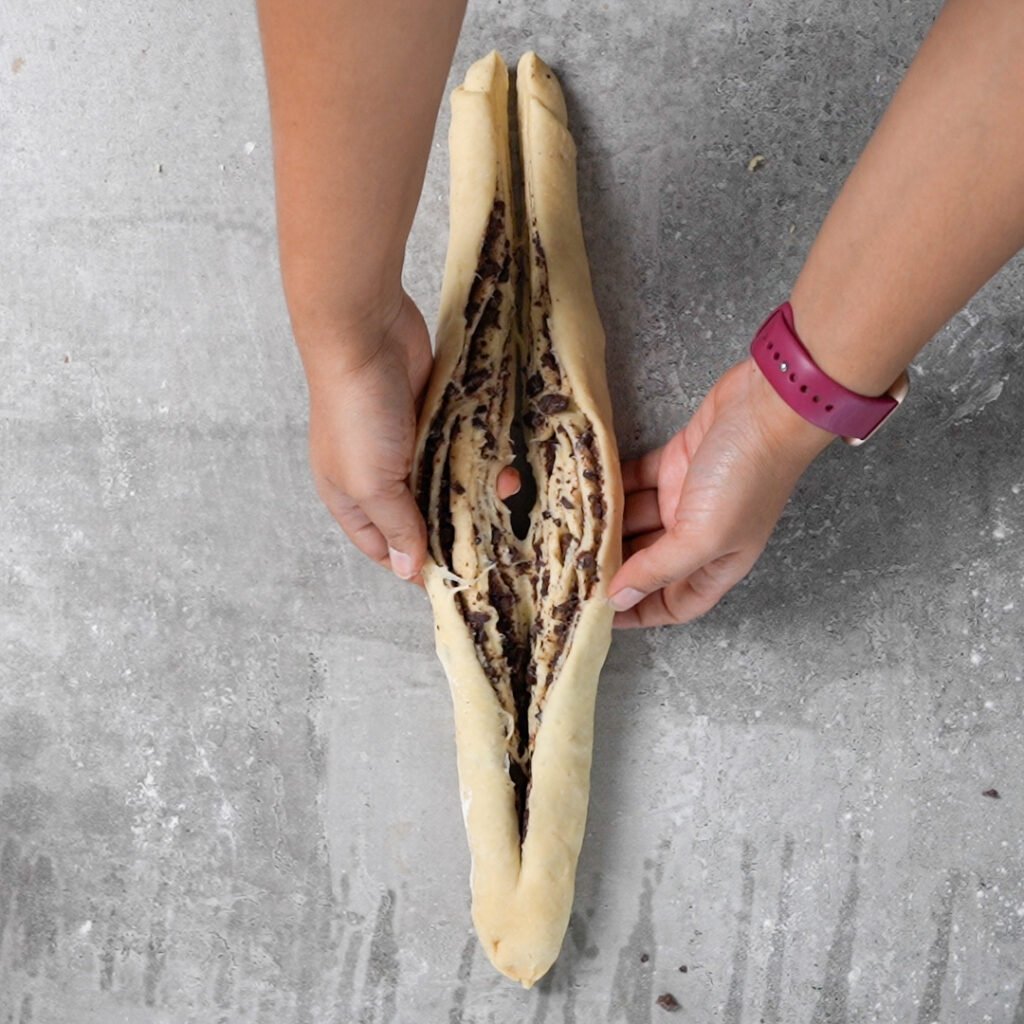
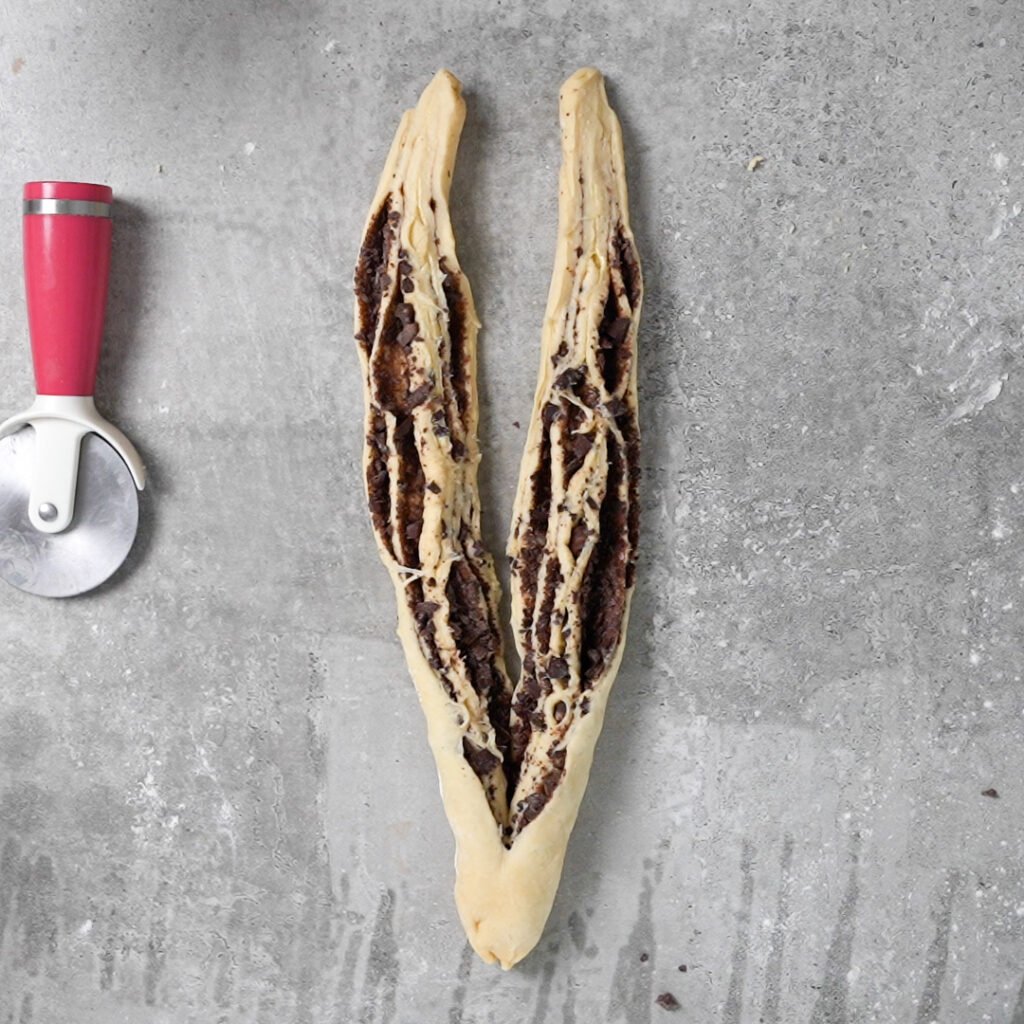
Pinch the ends together and braid it. Just go one side over the other alternatively.
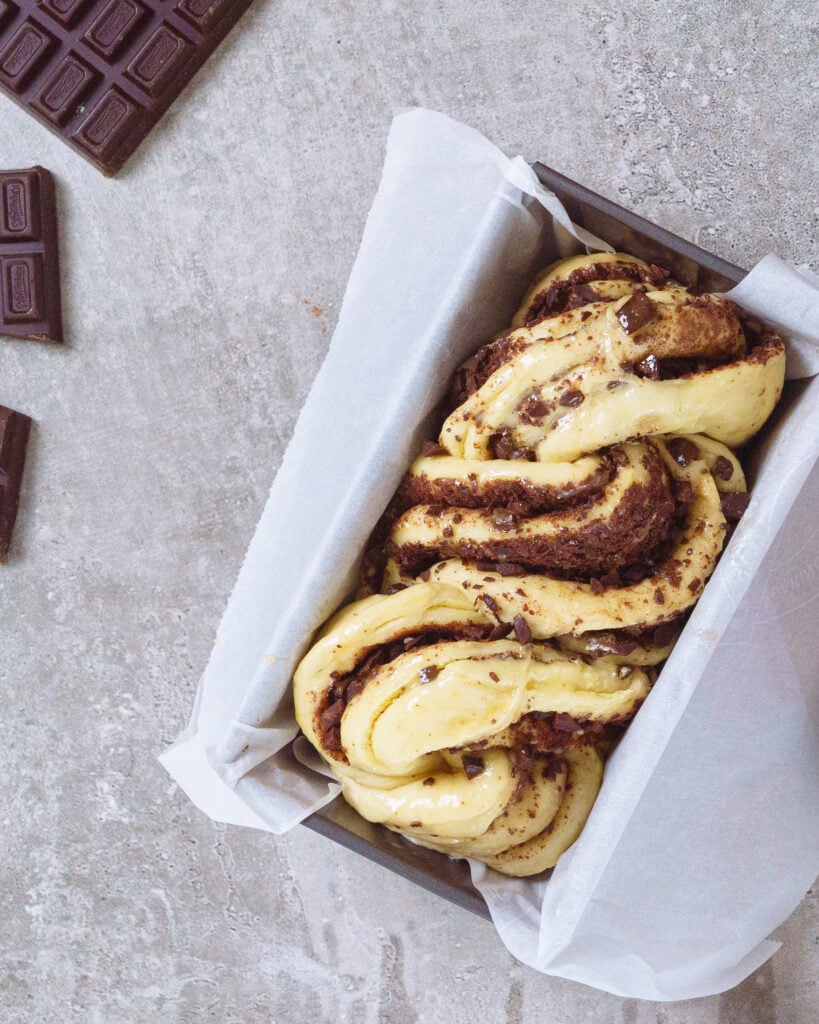
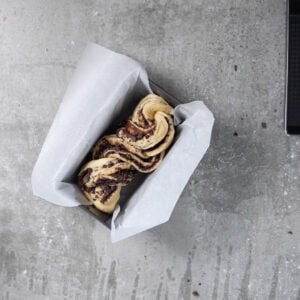
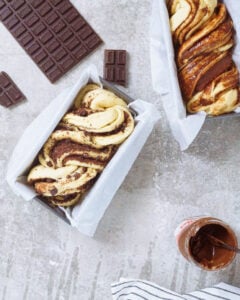
Place it seam side down in a loaf pan or prepared pans, you plan to use. Tuck the ends under.
Repeat for loaf 2.
Cover with cling film.
Even if it doesn't look great right now, it will look great in 1 hours time. After your second rise.I promise!
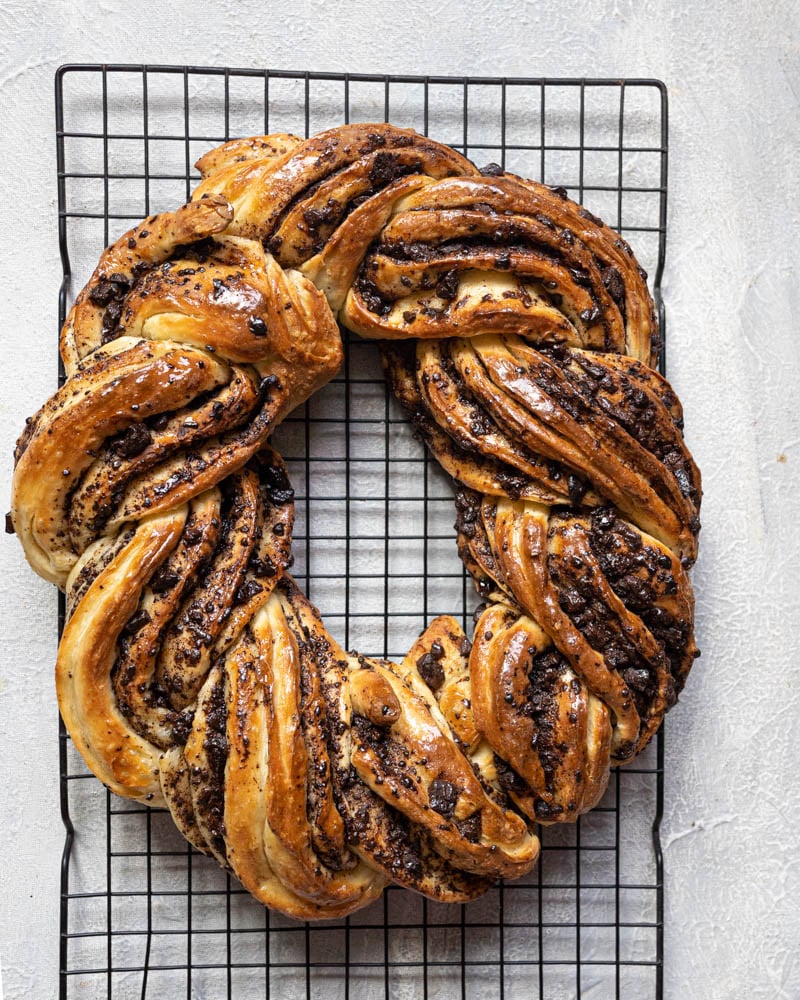
Shape 2: A Large Wreath
You can use all the dough to make a large wreath. You don't need the baking loaf pans but a big cookie sheet to make this.
Divide the dough into 2 halves.
Starting with one half, roll the dough into a rectangle.
Spread the butter and sprinkle the chocolate. Roll it into a log along the long edge.
Cut it lengthwise. Braid it by going one over the other.
Repeat with the other half of the dough.
Transfer both , seam side down, to the cookie sheet you are using to bake.
Now pinch the ends of two logs together. You should get one long braid.
Now connect the other end making a large wreath.
Cover with a damp cloth.
Step 4: Second Rise
After shaping, let the babka rise for the second time. This time it will fill up the loaf pan you have used.
Again, the amount of time it takes depends on how hot your kitchen is.I would say about 1-3 hours at 25 degrees Celsius.
If you are in a cold place, either use the instant pot or a warm bath to help rise the dough.
Preheat the oven at the end of one hour to 350 F or 180 Degree C.
Step 5:Bake
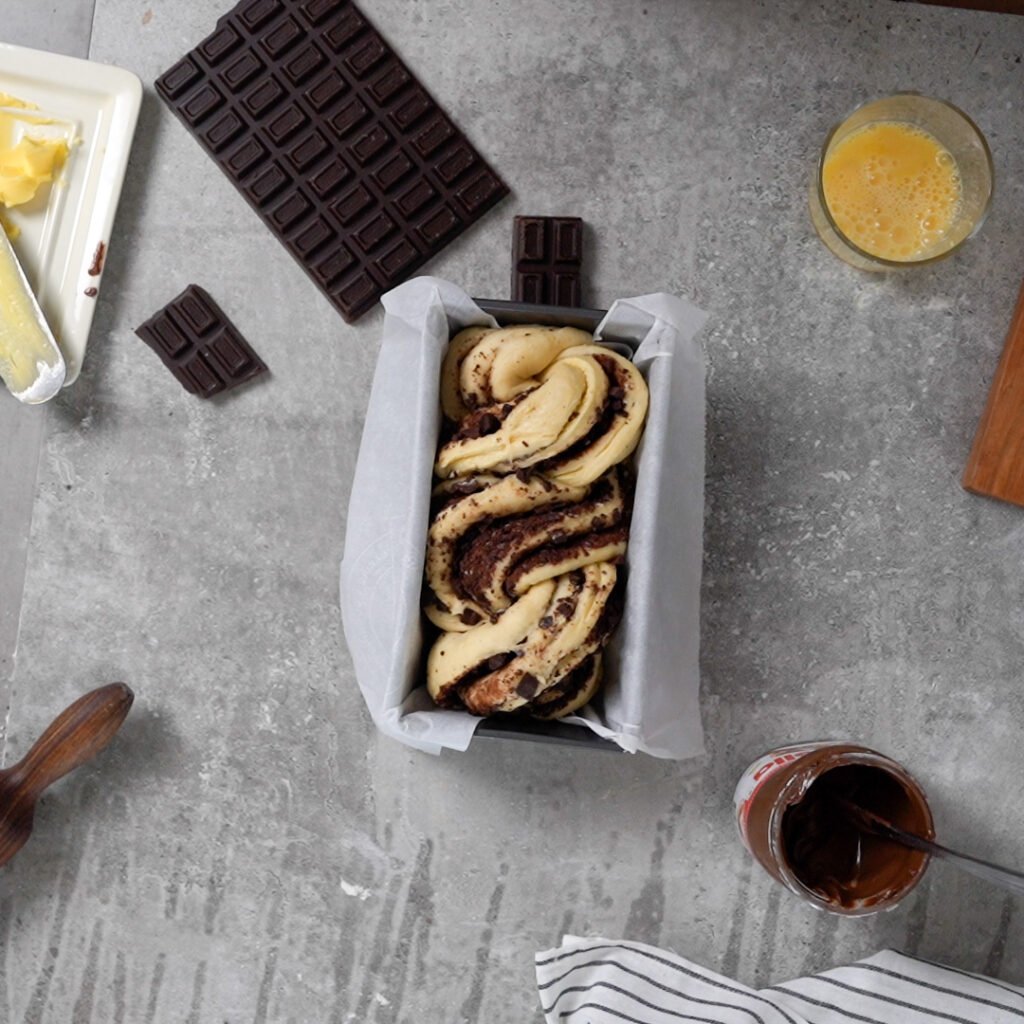
Place it in the middle rack and bake for 30-35 minutes till the tops are golden brown and a tooth pick inserted comes out clean.
Check around 20 minute mark and if you see the chocolate browning too much, cover the babka with foil and continue baking.
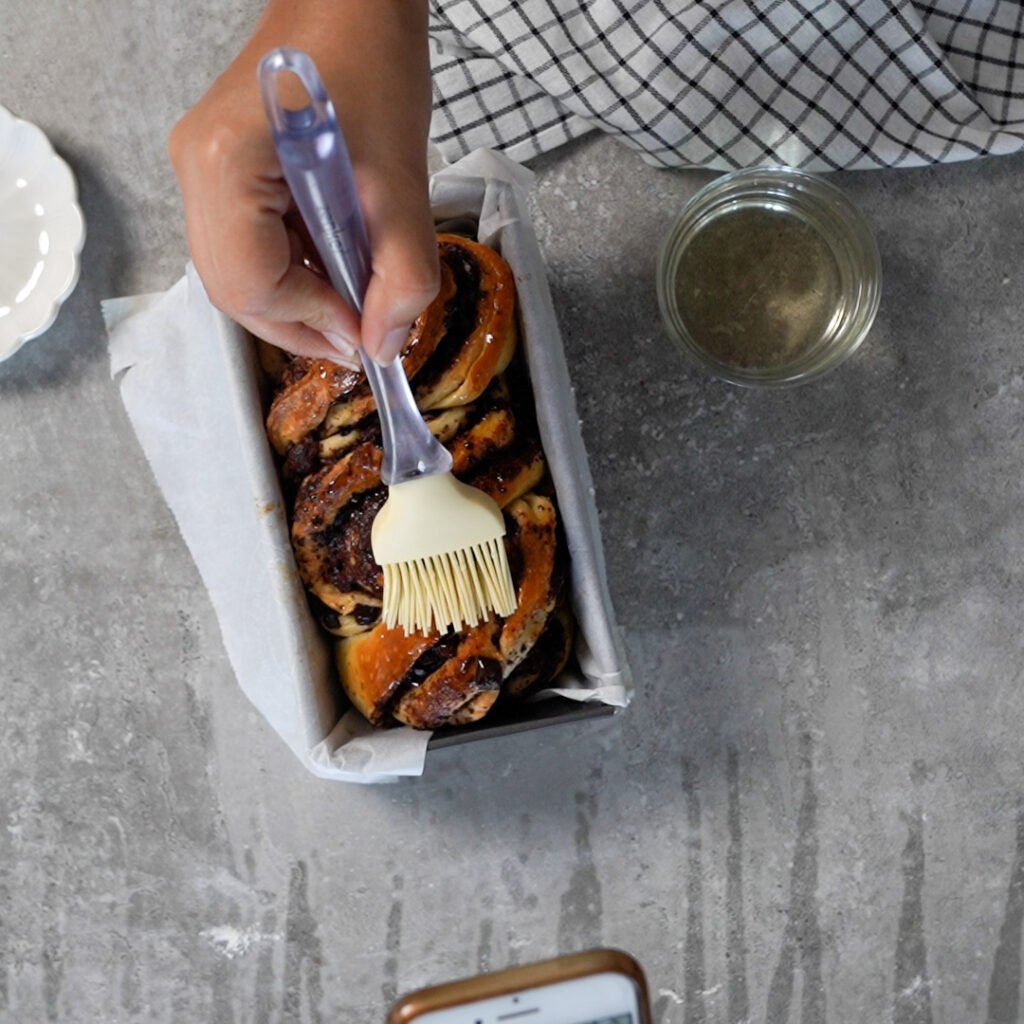
Step 6: Simple Syrup
Meanwhile, add the sugar and water in a small saucepan and heat it till the sugar dissolves and the syrup starts bubbling. This will take 10-12 minutes.
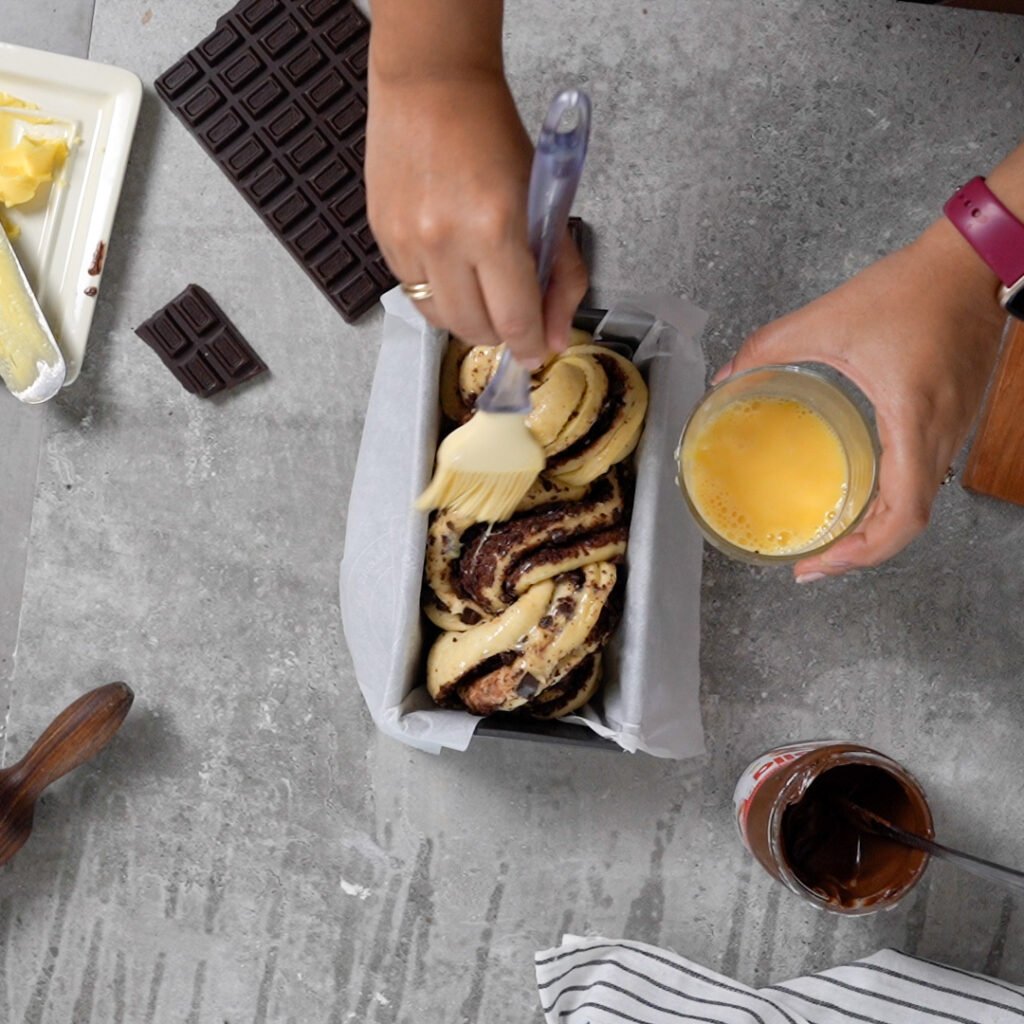
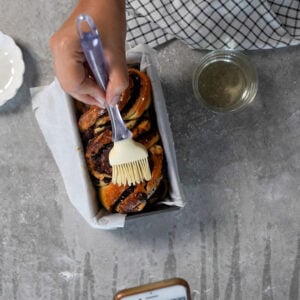
Once the babka comes out, brush with the cooled syrup right away. Let the babka cool on a wire rack before cutting.
This syrup will make the babka shiny and keep it moist and also add to the taste.
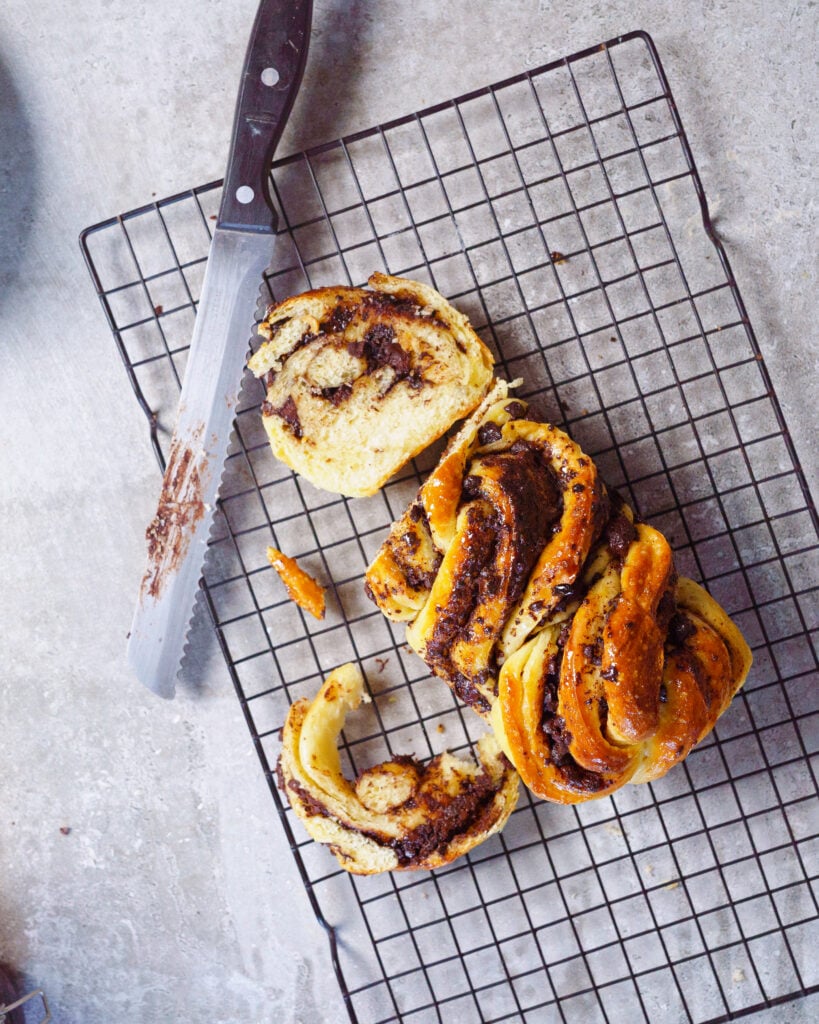
Storing & Freezing
The babka will stay in an airtight container , in the refrigerator for up to 5-6 days. To serve it, microwave the babka for 30 s to 1 minute.
I always freeze slices of babka for a rainy day. I mean I am an emotional person, so you never know when I need a hit of chocolate to make my day better.
Just wrap it in plastic wrap and then again in foil. Pop it in the freezer. It should last anywhere between 2-3 months.
To serve, you can either microwave it or let it thaw on the counter. Once its thawed, heat it up a bit to make the chocolate gooey and serve!
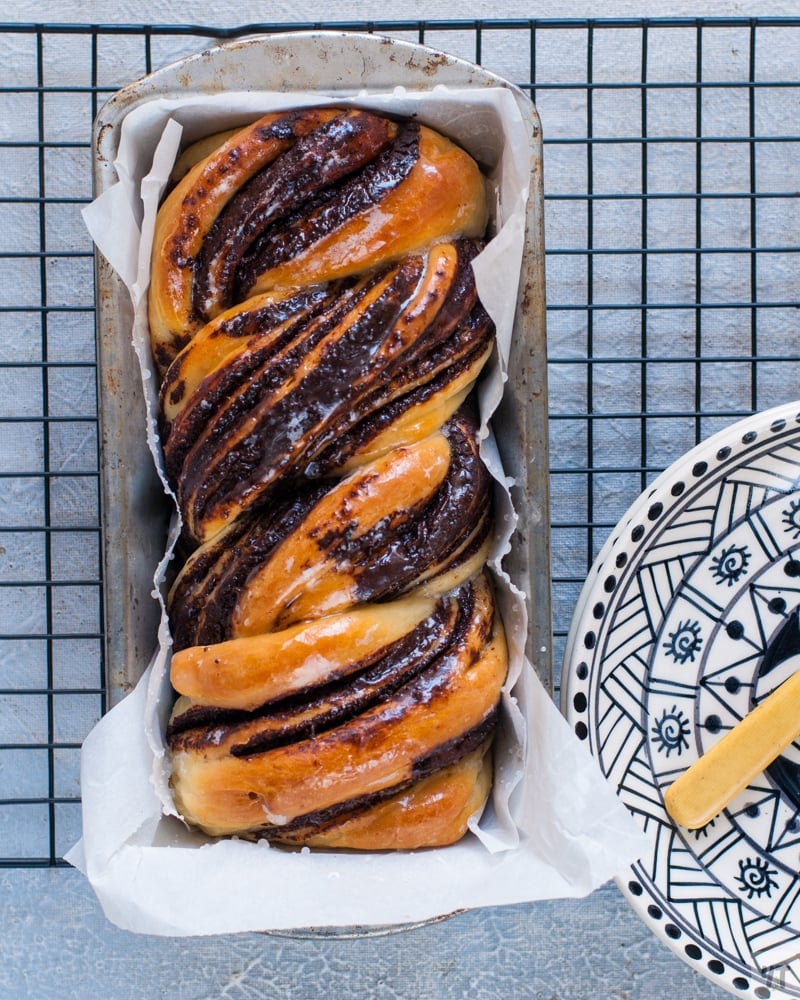
Here are some photos of the babka i have made over the years
Tips & Tricks
Use the Slap and Fold Method- Flap the dough down on the counter & Fold. Do this a couple of times till the dough turns from sticky to smooth.
Sticky Dough - A sticky dough will become smoother when you knead it. Also, it will get better once you let it rise the first time.
Slow Ferment - Overnight Refrigerator Ferment will make your babka super soft. If you use this method for first rise, let the dough come to room temperature before rolling.
Cold dough will be super difficult to roll.
Switch up the filling - Add some Cinnamon and nutmeg for special holiday cheer. You can also add some sea salt, Orange or lemon zest too.
Here are some more Dessert recipes that you are going to love!
If you make this delicious chocolate babka recipe, do leave me a comment. I would love to hear from you!
Chocolate Babka
Equipment
- Oven
Ingredients
- 3 ½ Cups (440 g) All Purpose Flour Refined White Flour or Maida(read notes)
- 2 teaspoon (2 teaspoon) Instant Active Yeast
- 2 teaspoon (2 teaspoon) Salt Reduce if using Salted Butter
- 1 tablespoon (1 tablespoon) Sugar
- 2 tablespoon (2 tablespoon) Butter Unsalted, Cold
- 2 (2) Eggs
- 12 oz (340 ml) Milk 1.5 cups; Lukewarm ; use ¾ cup at the start, followed by 1 tablespoon after.
Filling( for 2 babka loaves )
- 8 oz (115 g) Chopped Chocolate* ½ Cup
- 10 tablespoon (5 tablespoon) Butter
Syrup
- 2 oz (60 ml) Water ¼ cup
- 2 oz (50 g) of Sugar ¼ Cup
Instructions
Kneading Using a Stand Mixer(Option 1)
- Add the flour, yeast, salt, sugar and cold butter in the bowl of a Stand Mixer / food processor/ Dough maker.
- Pulse till the butter disintegrates and mixes with the flour.(but you should see the specks)
- Now on low speed, using the dough hook, Add the eggs one by one.
- Trickle in the ¾ cup of milk . The dough should start to come together now. Process for 1 minute. If it seems to dry add 1 tablespoon of milk in increments till you get a soft dough.
- Take the dough out.
Kneading with Hand(Option 2)
- Mix in the flour, yeast,sugar and salt in a large sturdy bowl.Add the cold cubed butter.
- Now pinch the butter with your index finger and thumb and mix it with the flour.Rub the butter in the flour till you don't have any big cubes of butter left but small clumps of it.
- Add the eggs and ¾ cup milk. Start by mixing and wetting all the ingredients. Once the dough starts to come together , add more milk in 1 tablespoon increments if the dough is dry or if it's too wet add more flour.
- Knead the dough well for about 10 minute. Stretch and fold..and Repeat.This is done to develop Gluten.If this step is omitted the bread will be chewy instead of pillowy.
Proofing the Bread
- Use a large greased bowl for this step. It should be big enough to fit a triple amount of the dough.
- The quick way is to keep the kneaded bread in a bowl, covered with wet kitchen towel for 2-4 hours.
- The easier way is to keep the dough in a covered bowl(use cling film) in the fridge for 8-10 hours.
Rolling the Dough and last proof
- If in the fridge,Take the dough out of the fridge and let it come to room temperature.
- Knead the dough for 2 minutes to make it pliable.Divide it into two halves.
- Make a Ball of the one halve and roll it into a rectangle.About ¼ inch thick.
- Spread the butter in the rectangle by leaving 1 inch space.Sprinkle the chopped Chocolate.Roll it from the longer side to make a long log.
- Optional step : Keep it in the fridge for 10 minutes to make it easier to cut.
- Cut the log along it's length and then braid it. Take one over the other alternatively. Tuck the ends under. Lift this into a prepared loaf pan lined with parchment paper. Cover again with cling film or damp kitchen towel.
- Let it rise for another 30 min-1 hour.
Baking
- Preheat the oven to 180 degrees Celsius or 356 F.
- Bake the babka in the oven for about 35-40 minutes.
- Bread is done if the skewer inserted comes in clean.Also when you knock on the back of the bread and it feels hollow.
Syrup
- Make this ahead of time so that it can be brushed over the bread as soon as it's out of the oven.
- Heat the sugar and water in a sauce pan together till the sugar crystals dissolve and the syrup thickens.
- Brush it generously over the babka for the beautiful glossy look.
Video
Notes
Ingredients
All Purpose Flour- Don't use whole wheat flour or any other substitution. The texture will not be the same. Chocolate- Use the best you can afford. I like a mix of Dark and Sweet Chocolate. I also prefer chocolate bar over chocolate chips. The chocolate bar can be chopped up finely , which really helps when it comes to shaping and cutting. I also like to have some fine, small and relatively larger chunks. They create a great textural contrast.Proofing Notes
- Make sure to cover the bread every-time you rest it. You can use a damp cloth or plastic wrap. Some prefer to use a large zip lock bag too.
- The dough will rise faster in a warm place. If you live in a cold place, you can either use the Yogurt option in low on the instant pot or place the covered bowl of dough in a warm water bath.
- To slow down the rise, stick the dough in the fridge. You can let it rise there for about 12-15 hours.
Shaping & Cutting
- Use a pizza cutter to cut the rolled, filled dough with ease.
- The dough plait might not look so pretty at first but it will look nicer once it rises and gets baked. I promise!)
Nutrition
SaveSave


Hayley Finewax says
Is the filling amount for 1 bread or two?
Do you spread melted butter or softened butter for the filling?
Thanks in advance!
Misubi says
The filling only fit on my single and would not be enough for 2 in my opinion
chhavi says
ah well...the amount of chocolate one needs is subjective...Go ahead and put more if thats how you like it...:D
Hayley Finewax says
Looking forward to making this recipe! 🙂
I had two questions:
1) Is the amount of chocolate in the filling for 1 or 2 babkas (as you mentioned there is enough dough for 2)
2) Is the butter for the filling melted?
Thanks in advance!
chhavi says
Hey Hayley,
Thats for 2 babkas and yes, butter is melted.
Lina says
Do I have to bake the other half at the same time? Or can it be frozen for a later time?
Also my only loaf pan is 13inches, would that be a good size to just use the whole dough to make a bigger wreath?
chhavi says
You can definitely make and freeze the other loaf for later.
Misubi says
One babka filling and do not melt the butter simply use softened butter
Darnelle C says
If using a stand mixer, how long do you have to run the mixer for the dough to be ready? I live in Hawaii and it's extremely humid here. I find that I always need to add a little extra flour to my bread recipes because the dough always comes out too wet. Do you think adding a bit of extra flour will impact the bread?
chhavi says
it shouldn't impact.
If you have a stand mixer, you can knead the dough for 5-10 minutes.
chhavi says
You go with instinct.Sometimes certain flours need more water and thats okay.
with stand mixer 5-10 minutes should work.
Alesha says
Looking forward to making this. Is the oven temp in C or F?
chhavi says
It's in C
Kathryn Millar says
Hi - I loved this recipe!! I made a dark chocolate one and a raspberry and white chocolate one - divine! Thank you! I want to make some as Christmas gifts for neighbours so my question is - can you freeze it? If so do you freeze before or after baking? I’m a newbie to baking breads so I don’t know about freezing options!! Thanks in advance 🙂
chhavi says
You can freeze it at both stages.If you shape it and freeze it, let it come to room temperature before baking it.
If you freeze it cooked, then thats works too!
Brooke says
What size loaf pan did you use?
chhavi says
Hey Brooke..I have used standard 9 inch loaf pan.
Also..if you have that dilemma..I have also baked it without a loaf pan and its worked just fine..
Abbie says
The amount of milk in the list of items is different than what you have in the directions (1.5 cups vs 3/4 cups). Having added the 1.5 cups I believe that 3/4 is the correct amount. I poured mine out of my dough and added more flour so keeping my fingers crossed all works out!
chhavi says
Hi Abbie,
You start with adding 3/4 cup of milk and then gradually add 1 tbsp of milk at a time till your dough looks soft and plaint.
The reason to do this in increments is that every flour can have a slightly different absorption.
Hope this helps
And hope your babka came out nicely!
Kelsey R says
I did the same thing too! Hope mine turns out.
Carol says
Hi, with option 1, using a food processor; should I remove the dough and knead by hand? Approximately how long? Or does it not require hand kneading?
chhavi says
Hi Carol,
you need not hand knead the dough once you have done it in the food processor.
You only need to do this again if you have done the proofing(rise with yeast) in the refrigerator.Which will help roll the dough.
But if you have not put the dough in the refrigerator, you dont need to knead it again..Hope this helps
Ally says
Would it still turn out good if I don't let it rise for the suggested amountnt of 1hr on the second rise?
chhavi says
Possibly not. It won't be as fluffy without that second rise.
Shannon says
This makes just one loaf, correct? Your instructions say after removing from the bowl to divide the dough in half. Roll out the first half and all that but doesn’t mention the other half?
chhavi says
No this will make 2 loaves or one giant wreath.
Rose says
Ever tried it in bread machine to mix/knead?
Sandy Nelson says
Why don’t you make a chocolate sauce to spread on the dough, like I’ve seen in other recipes?
Just curious. I’ve never made babka before, but have eaten it.
Jo says
The recipe says 1.5 cups (12oz) milk but the instructions say 3/4 cup. I can't find where it says to put in the other 3/4 cup.?
chhavi says
You start with 3/4 cup and see how the dough is coming toghether.After that you add 1 tablespoon milk at a time to form a soft dough.
Kathy says
I have not made this yet, but was wondering what changes would I need to make to make individual mini bundts or loafs? I'm thinking of taking each half and making that into at least 3 individual gift able loafs.
chhavi says
Hey Kathy,
Simply divide the dough into 3 equal portions and proceed.
The baking time will reduce when you reduce the size of the loaf so I would start keeping an eye from the 20th minute onwards.
Hope this helps.
Madison says
Love this recipe! I had a hard day before making these and didn't realize the recipe was for 2 l loaves, so I accidentally ended up with four. Instead of chocolate I did marzipan and slivered almonds in 2 of the loaves. I also accidentally added 2 tablespoons of sugar instead of 1 and used half a tablespoon too much butter and it still turned out amazing! I did purposefully use 6oz of semi sweet chocolate in each loaf instead of 4oz each. I made one of the almond ones in a glass bundt style pan instead of a loaf shape and it was so pretty! Everyone is obsessed!
Whitney says
This is the first babka I've ever tasted let alone made. I did do the inside in cinnamon instead of chocolate and that didn't quite look as nice as photos I've seen. I don't know if I did this right but it was tasty! And relatively easy especially considering I cant usually get yeast to cooperate with me. Will definitely be trying this again!
Stephanie says
Delicious! My whole family LOVED it. I think it would make an amazing french toast, but I'll have to make it again since the fam ate all of it 🙂
Wilma Purtell says
I just made the babka bread and it was 2 lovely loaves. The filling was only enough for one, I realized that and doubled it. I will make it again. Very easy. Thank you.
Lo says
This is sooooo good,
Sunny says
Amazing!!! I am not a great bread baker but I followed your recipe to a T and both loaves turned out fantastic. Even my picky eater loved it! Thank you for this recipe! I am definitely saving this and making it again and again 😀