Perfect homemade 5 min Boondi Raita recipe, made with just 4 ingredients! Serve as an Indian Side dish.

TEXTURE : Smooth yogurt with soft boondi
EASE: Very Easy
Serve with : Biryanis, Pulavs, Curries & Parathas
Jump to:
Raita is a cool and tangy yogurt sauce from India. It's made by mixing yogurt with spices, flavors and served chilled as a side dish.
Boondi Raita is a staple in North Indian houses.It is served for every big event, small party and gatherings. The good news is that its super easy to make!
Onion Raita is a more popular version of Raita in the south of india. Especially with Biryani
No Indian meal is complete without Raita. The more spicy the main course, milder the raita.
While the curries, pulavs and parathas can be slightly complex, raitas are super easy to make.
All you need is a few ingredients and voila, you have the most soothing, accompaniment to the spicy indian meal
Here is what we will do
- Soak the Boondi
- Whisk the yogurt
- Mix it all up
Why you will love this Raita
I will always think of this raita as a fancy raita. Though it's anything but.
Here is why we love it
- Very Quick to make but has a definite WOW factor
- Limited ingredients- So very less chopping
- Simple flavors, which contrast very well with complex flavors from Indian meals
- It's soothing. Perfect when you aren't used to eating spicy food.
Off course there are a lot of different raitas, some with ingredients like cucumber , pineapple, a pink Raita with Beetroot.
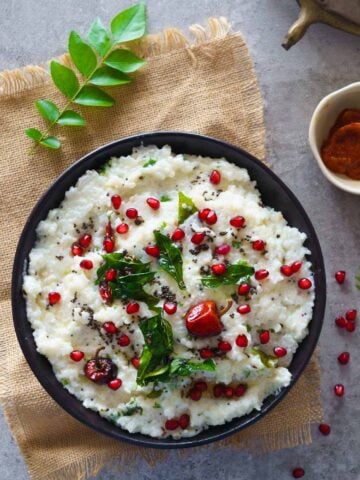
Another famous, soothing recipe is the Tempered Curd Rice or yogurt rice- It's something you have to try!
Ingredients
- Yogurt
- Boondi
- Cumin
- Salt
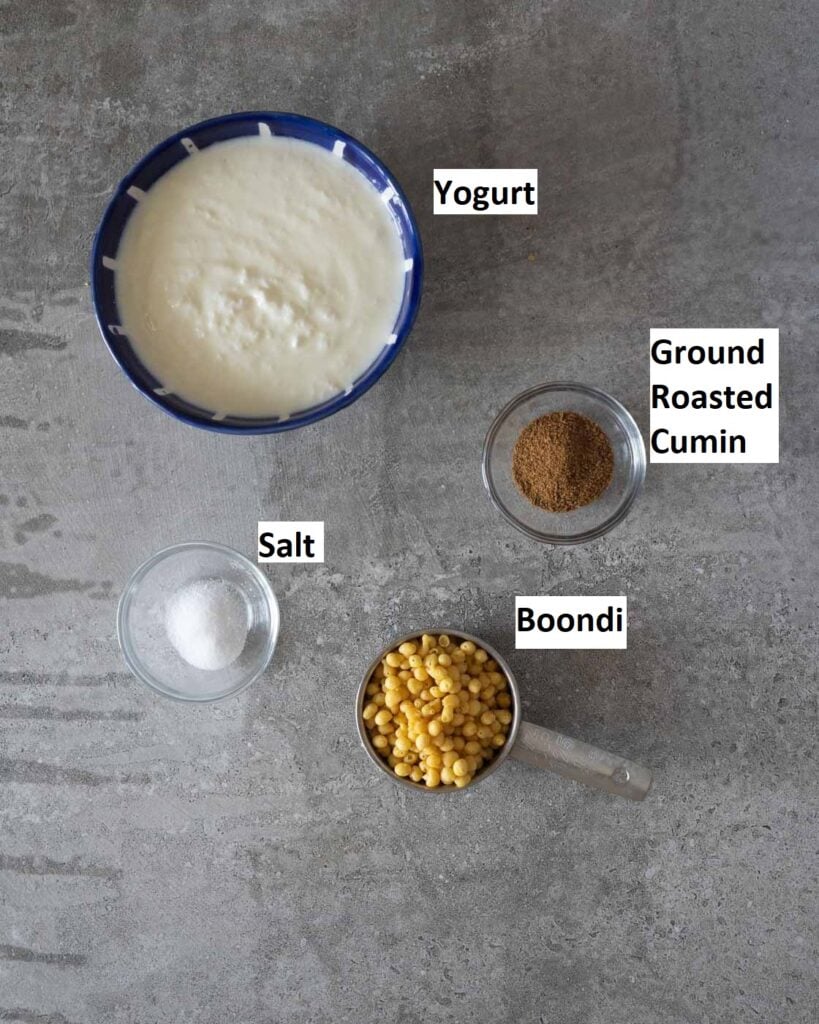
Optional but very desirable!
- Black Salt
- Chili powder
- Chaat Masala

Yogurt
For this Boondi raita, you can use any kind- homemade, Full fat, low fat or even Greek yogurt.
The main requirement though is that the yogurt is whisked well. Read that again and if there is one thing you take away from this recipe, let it be this! Whisk Whisk Whisk your yogurt. Make sure its frothy, creamy and uniform.
Also, use chilled yogurt while making this. If you don't have that at hand, use thick yogurt at room temperature and add ice to the raita.
Boondi
This is readily available in indian groceries and on Amazon. We have almost always used Haldiram Boondi.
When you pick the boondi, make sure its the plain kinds and not mixed with curry leaves and other spices and crunchy bits.
Cumin
This is the secret for most chaats and Raitas.Really.
Roasted Cumin that is.
You need to roast the cumin till its almost black and the seeds have popped. Doing that takes the flavor from meh to 500 times more! Roasted Cumin is the best thing you could add to your repertoire! Promise!
Black Salt
Just like Roasted Cumin, Black salt is a serious serious ingredient that make a giant difference to your chaats and raitas. It is a very common north Indian ingredient that is used along with regular salt.
If you cannot find black salt, you can use pink salt too.
How to Make Boondi Raita
This raita should be served almost immediately so that the texture of the boondi stays and it doesn't disintegrate with the yogurt.
Step 1: Soak the Boondi
This is a step a lot of people skip which makes the yogurt "crunchy" instead of creamy.
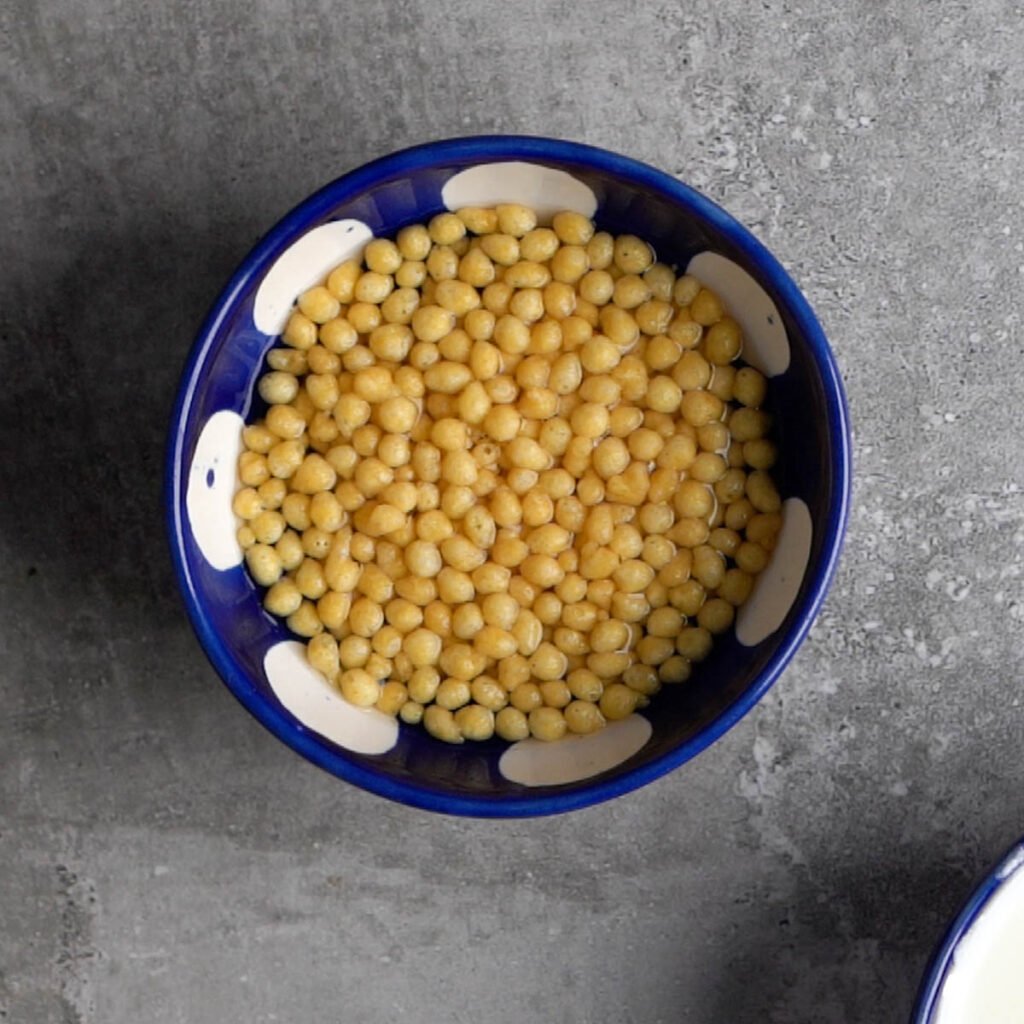
Simply soak the boondi in warm water for 20-25 seconds. It will soften and the excess oil will be removed too.
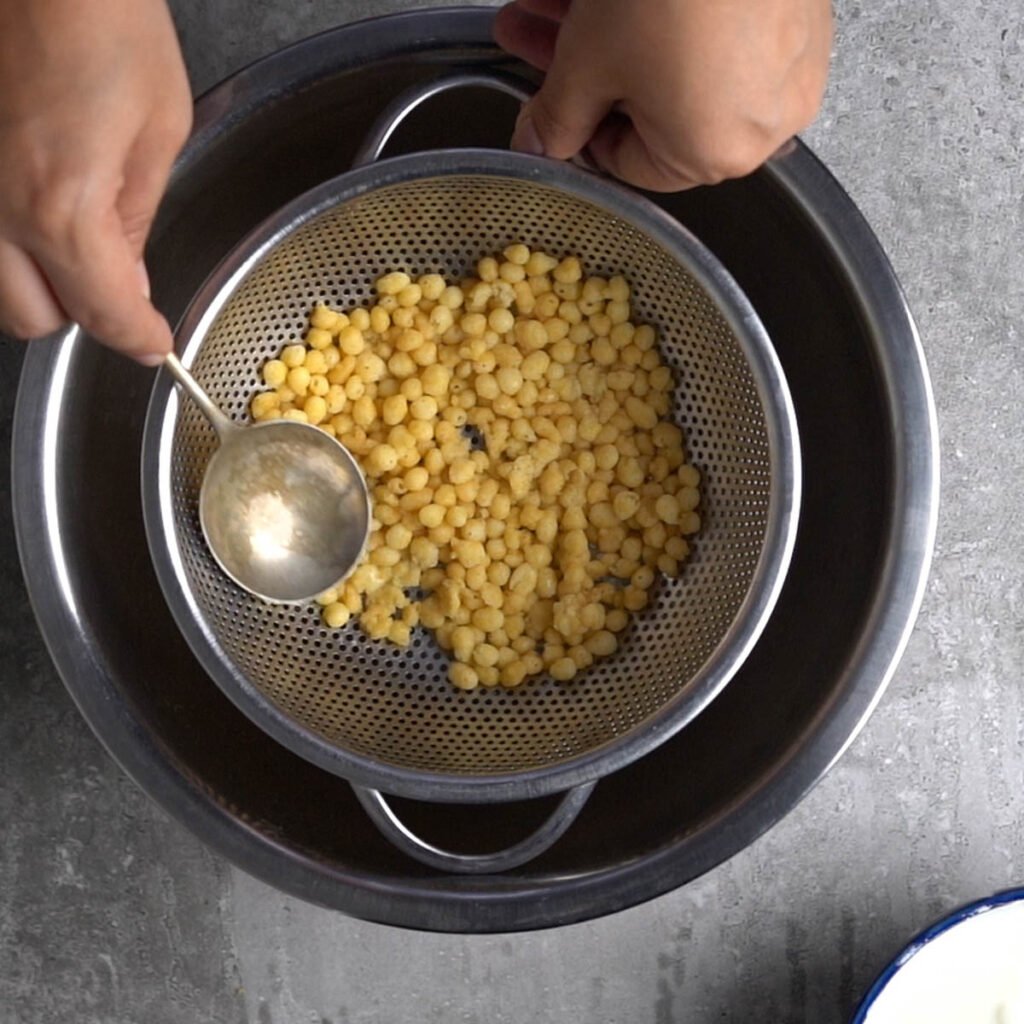
Drain the boondi using a sieve. Give it a squeeze to remove the water from it. We do this for two reasons-
- first so that it doesn't release that excess water into the creamy yogurt
- Second so that the boondi can absorb the raita like a sponge.
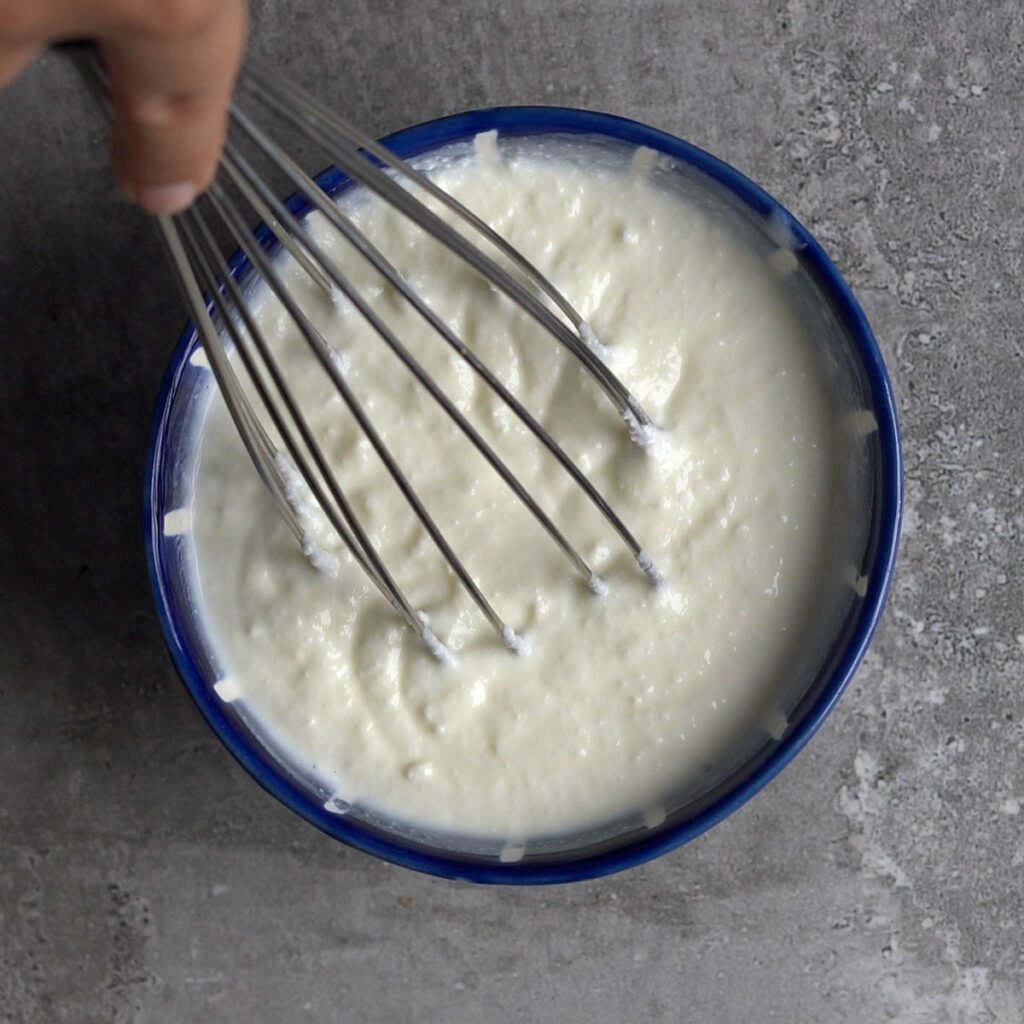
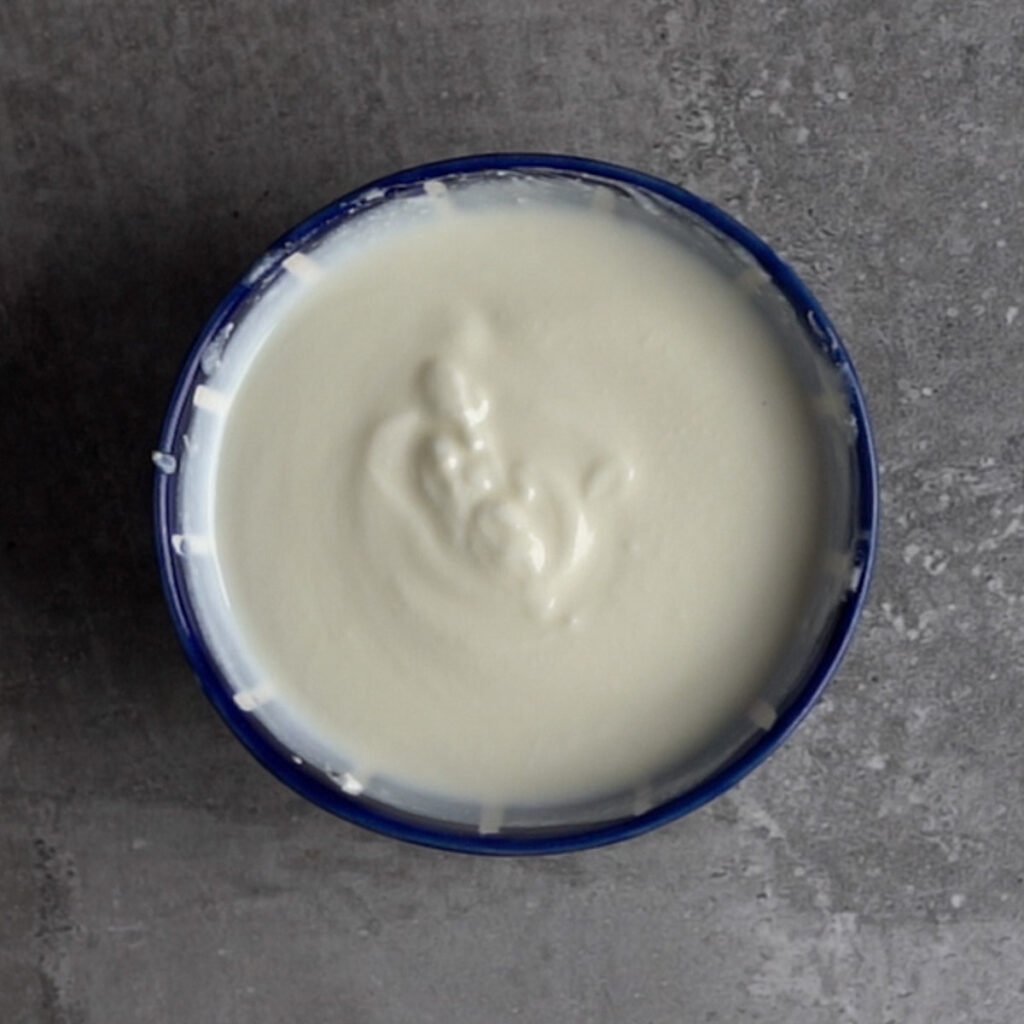
Step 2: Whisk the Yogurt
Make sure the yogurt you use is cold.
If not, add a few cubes of ice to thick yogurt. Take into account that the ice will make the yogurt thinner plus the boondi will soak up some of the yogurt.
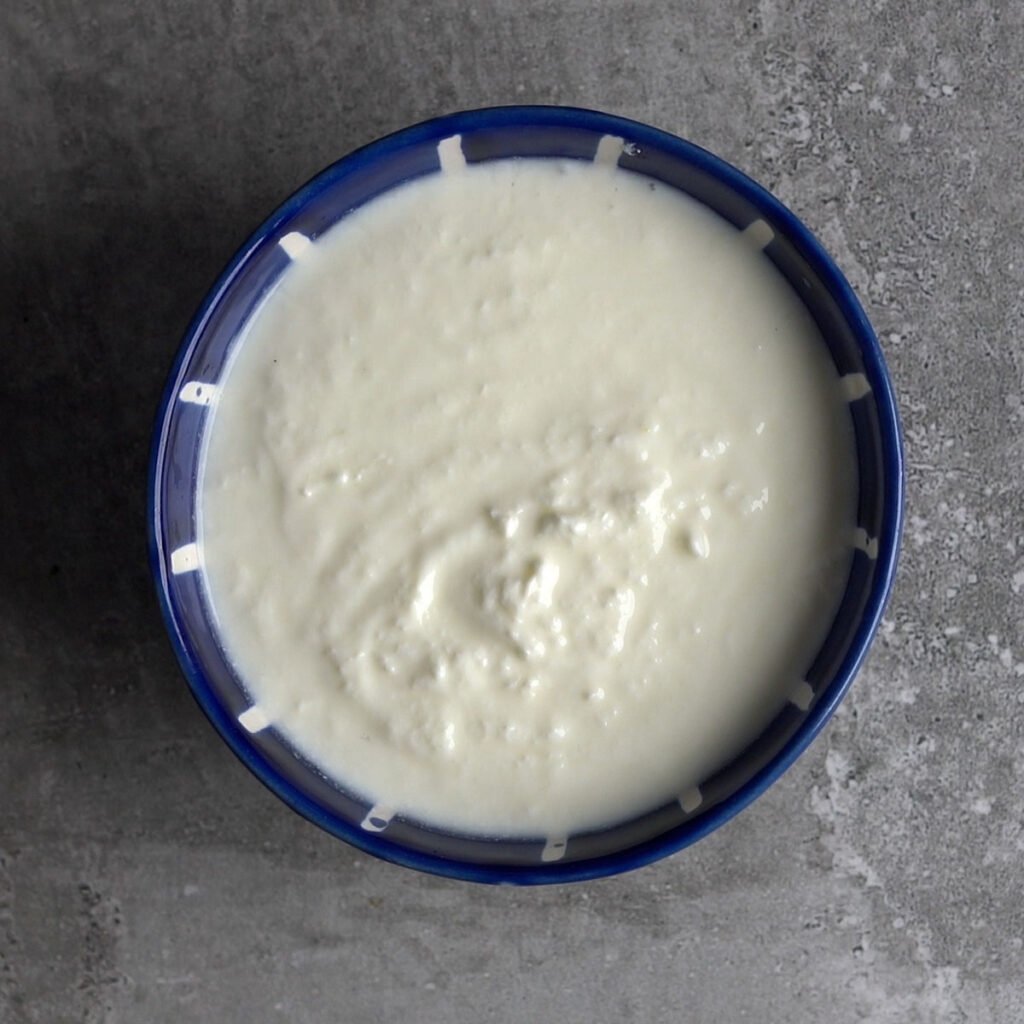
Whisk the yogurt till you see it as a uniform and creamy texture. You want it to be a smooth texture, without seeing individual flecks of yogurt.
Step 3: Roast Cumin
I always have roasted , powdered cumin on hand. But if you don't, here is what you do
Heat up a pan till there is no water in it.
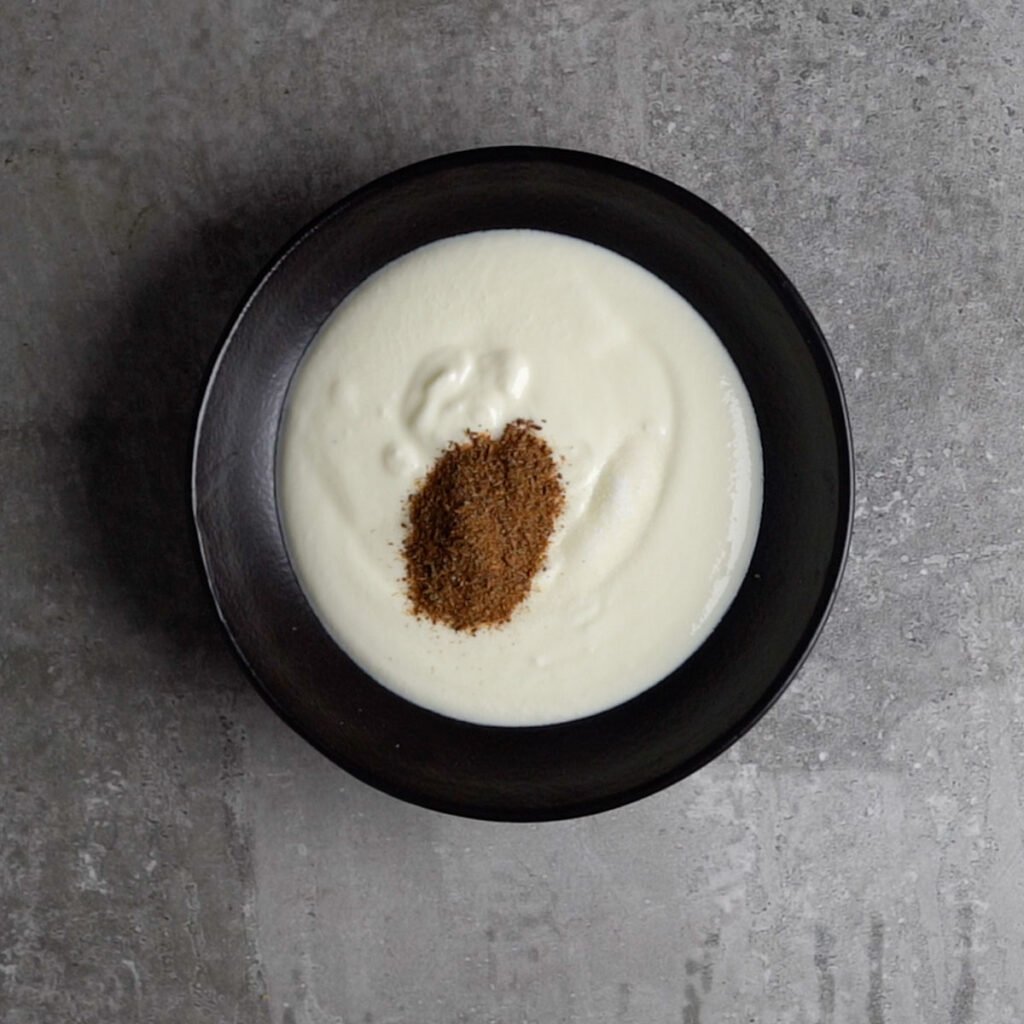
Add the cumin and roast it dry on medium heat till it starts to turn black and starts making popping sounds. This is what you need.
Roughly powder is in a mortar pestle or a blender. Store it in an air tight jar on the counter. This can easily last months if not years.

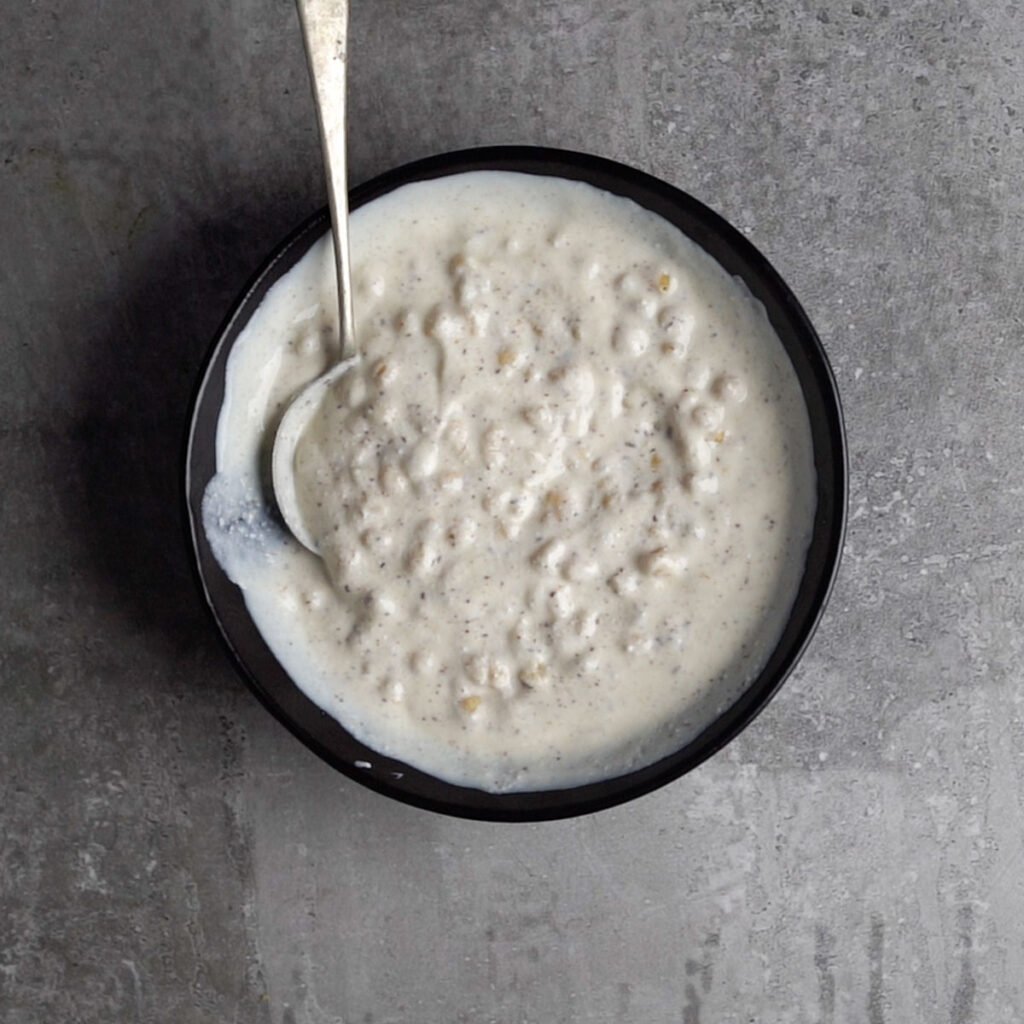
Step 4: Add the Boondi
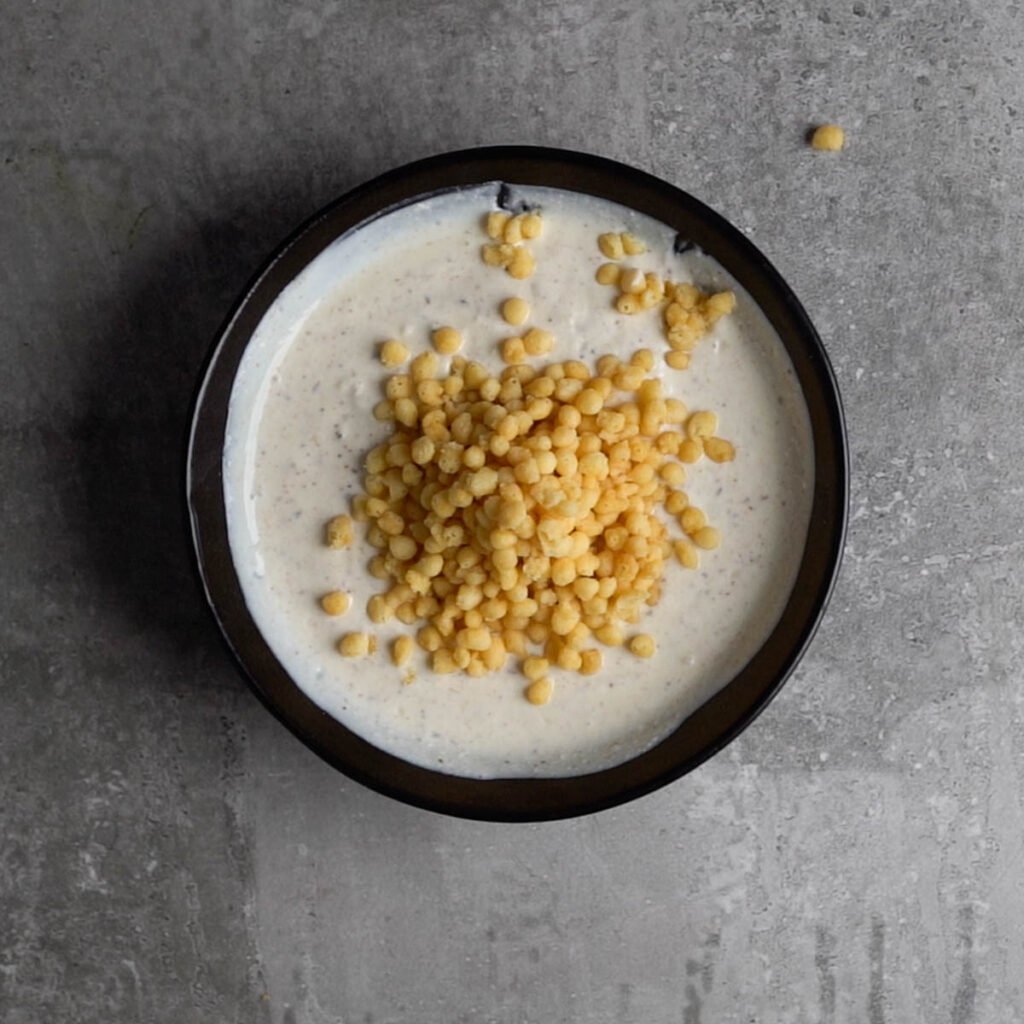
Add the soaked , drained boondi to the raita along with salt & roasted Cumin.
The raita will thicken in a couple of minutes as the boondi absorbs the yogurt. I usually add a few ice cubes at this stage so that when the yogurt is served, it is chilled.
Give it a mix and serve immediately.
Step 5: Optional Add ins
Usually I would stop with the step 4 but if I am making this raita for company or a party, basically trying to impress, I add a bit of fresh Coriander, Red chili powder, Chaat Masala and Black salt to it too.
Make sure to adjust the salt as per your taste. Account for the extra salt from chaat masala and black salt too.
And then I finish the raita with a few crispy boondis on top.

How to Serve Raita
Serve the Raita cold immediately. That's when it's at it's peak awesomeness!
This particular raita will get thicker with time as the boondi absorbs more yogurt. The boondi will also get softer with time.
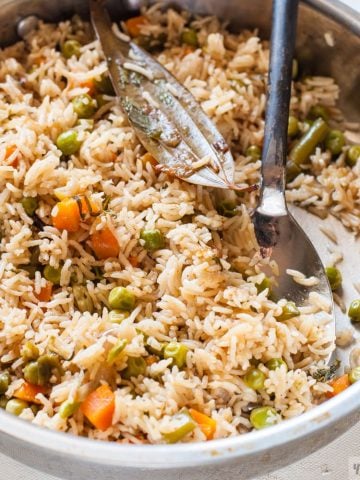
This is a great Indian side dish which can be served with most indian meals, be it Pulavs, Khichdis and parathas.
Variations
There are many raita recipes. Curd is quite a staple in Indian houses. Raita is almost always served with lunch or dinner, whether you are eating a basic meal at home or hosting someone.
This particular recipe is the raita usually served with Biryani. Besides this, there are a lot of other raita recipes too. Here are some that we love and make almost weekly
- Cucumber Raita
- Beetroot Raita
- Pineapple Raita
- Boondi Raita
- Biryani Raita
- Ghiya or Bottle Guard Raita
Notes, Tricks & Tips
Here are a few tricks to make the best Raita ever
- Use Cold Yogurt
- Whisk Whisk Whisk the Yogurt
- Use fresh yogurt that's not too sour.
- Let the yogurt chill for a couple of hours before you make the raita because in this case, you will have to serve it immediately.
- Garnish it with cilantro or a sprinkling of Chaat Masala
Hot Tip
If the yogurt is too sour, add a pinch of Sugar to balance the taste
Storing
This raita can stay in the fridge for 4-5 days but that completely depends on the shelf life of the yogurt used.
The boondi will get softer and may disintegrate into the raita.
I don't think there is a need to freeze the raita because you can whip it up in less than 5 minutes if you have everything on hand.
Pairing
These are my favorite dishes to serve with this boondi Raita
More Yogurt Dishes

Boondi Raita
Equipment
- Whisk
Ingredients
- 1.5 Cups Yogurt 250 ml
- ½ Cup Boondi
- 1 teaspoon Cumin Roasted & Powdered or crushed
- teaspoon Salt adjust as per taste
Optional Ingredients
- 2 Pinches Black Salt
- ½ teaspoon Chaat Masala
- ½ teaspoon Red Chili powder
Instructions
- Soak the Boondi in warm water for 20-25 seconds.
- Whisk the yogurt till it's frothy, creamy, and uniform. Add about ¼ cup of water to it.
- Add the salt- black and white and roasted cumin to the yogurt. Mix well. If using, add the cilantro, Chaat Masala and red chili powder too. Taste and adjust.
- Drain the Boondi and squeeze the excess water out.
- Add it to the yogurt. Mix it together gently.
- Garnish with either- Crisp Boondi, Roasted Cumin, Chili powder or chaat masala.
Notes
Check out the yellow boxes for important information & Tips
Serving
The Raita is served cold and is a side dish. It goes well with Biryanis, spicy curries and Parathas.Tips
- Use Fresh yogurt- homemade, set curd or Greek yogurt will also work
- Whisk the yogurt well before you add the rest of the ingredients









Leave a Reply